I wanted to experiment with making my own Amber glass dropper bottle to use as a mockup for one of my label design projects. It turns out it’s not that hard to do. I used a picture of a bottle as a reference throughout this process.
I have included the final Amber Glass Dropper Bottle with Golden cap Mockup and two other Bottle Mockups at the bottom of this article as a download. You can open the file in Affinity Designer and use it for free.
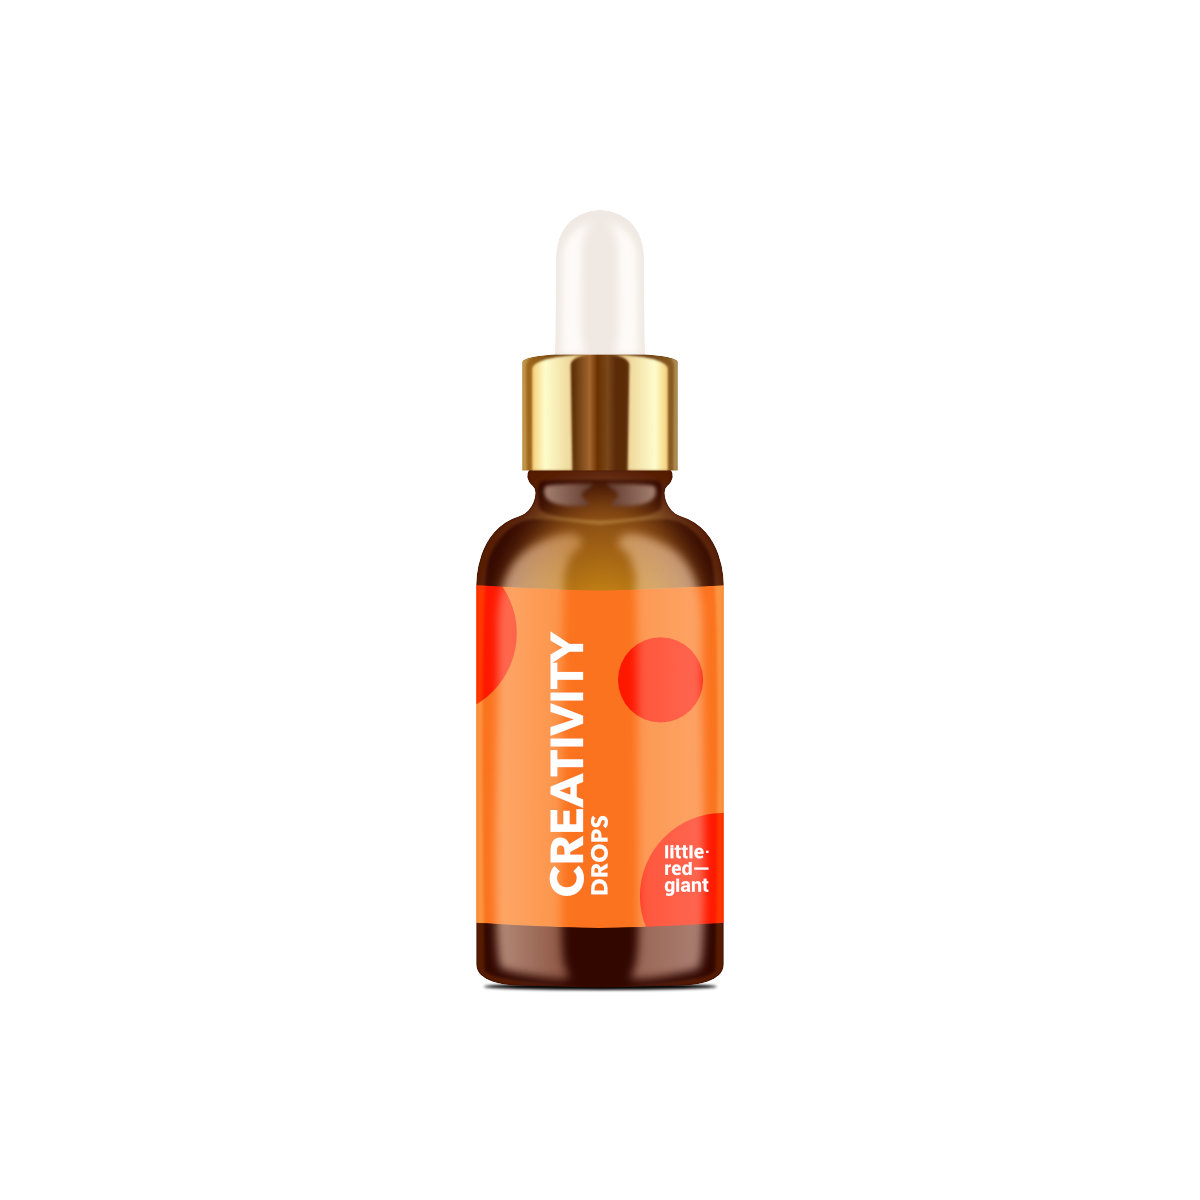
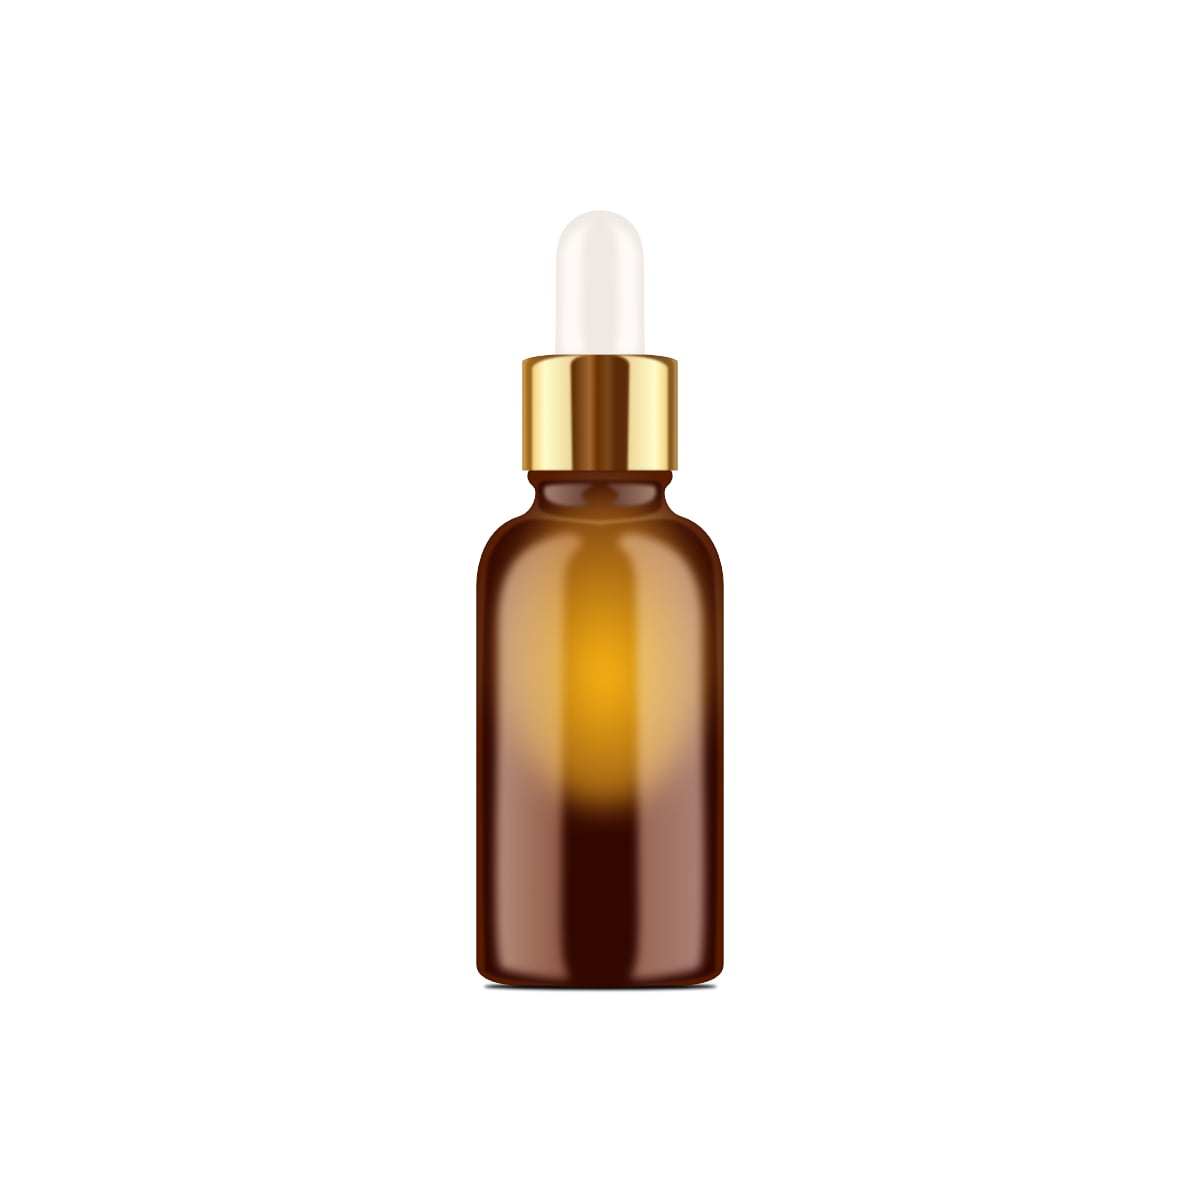
Let’s dive into making our bottle. Here is what the final will look like.
Step 1: Outline

You can find a picture of a bottle on Google for reference. Trace the outlines of the Bottle, Cap, and the Dropper tip.
Step 2: Bottle color and shading
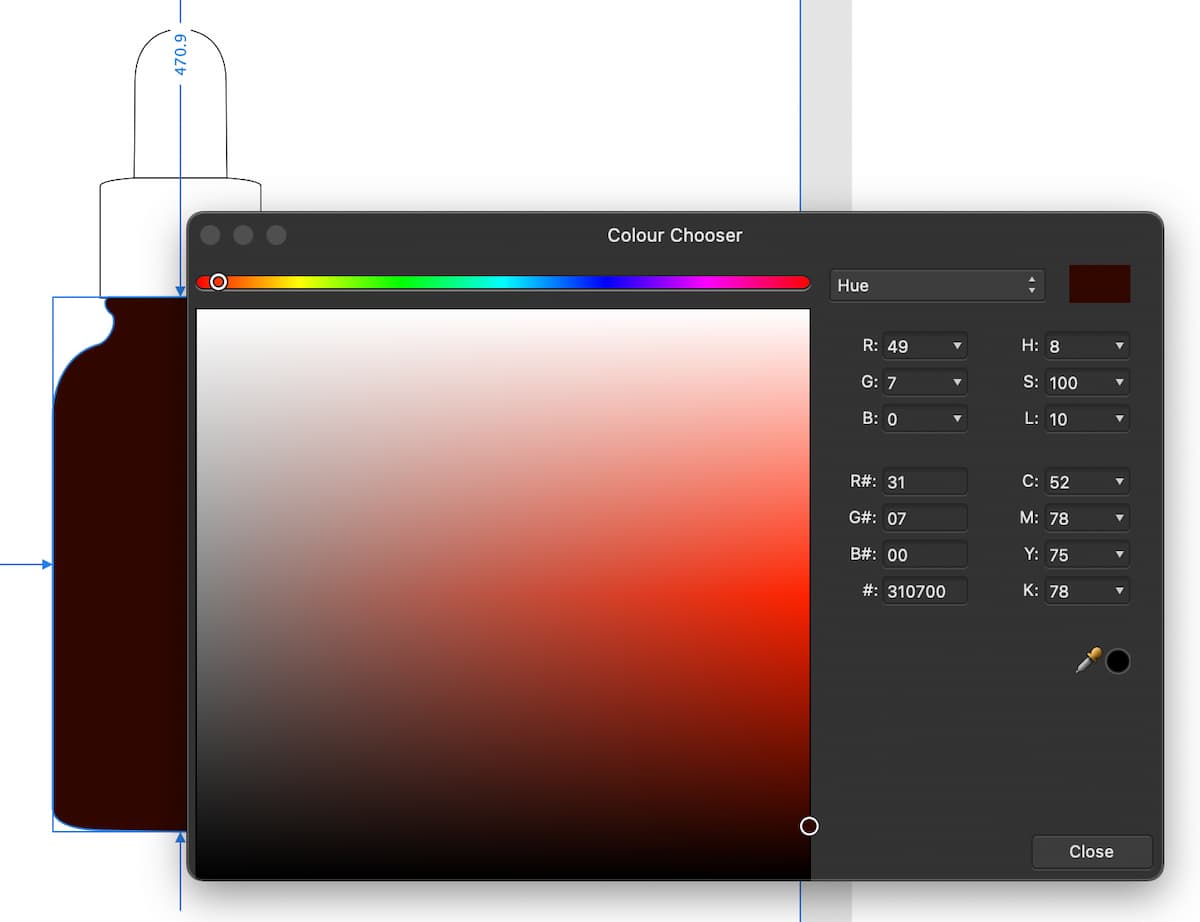
We are going to fill the bottle shape with a dark brown, I used the values in the below image. You can choose a shade that feels right to you.
Next few steps are going to make the bottle look more like glass. We will be using Affinity Photo’s “New Live Filter Layer” to add Gaussaian Blur to our vector shapes. This is not needed, but makes it look more real. Note: You can adjust the blur in Affinity Designer after you add it using Affinity Photo.
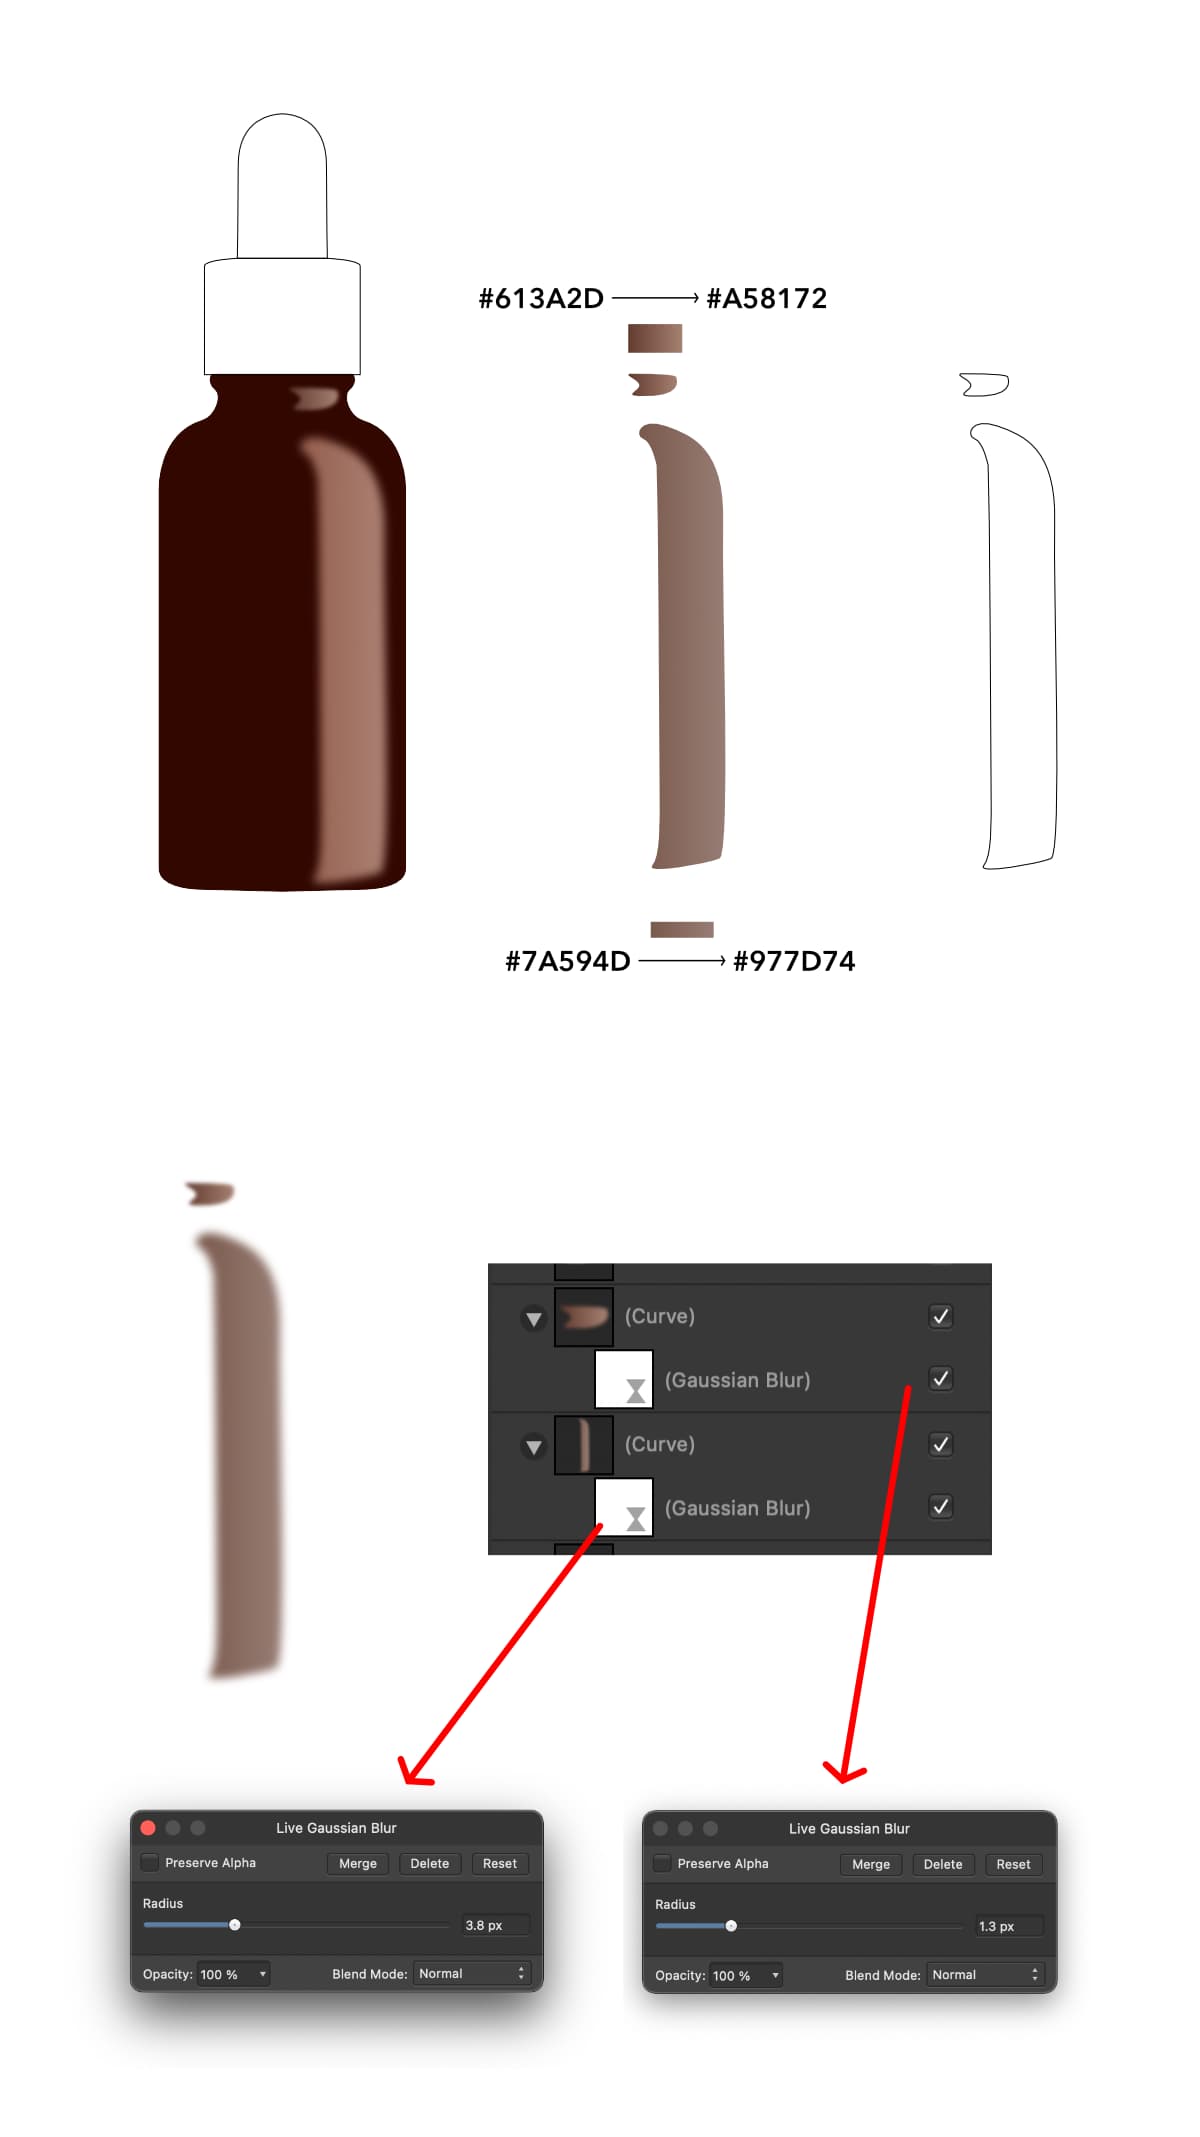
After adding this shape as shown in the image above, you can duplicate it, flip it horizontally and change the direction of the gradient.
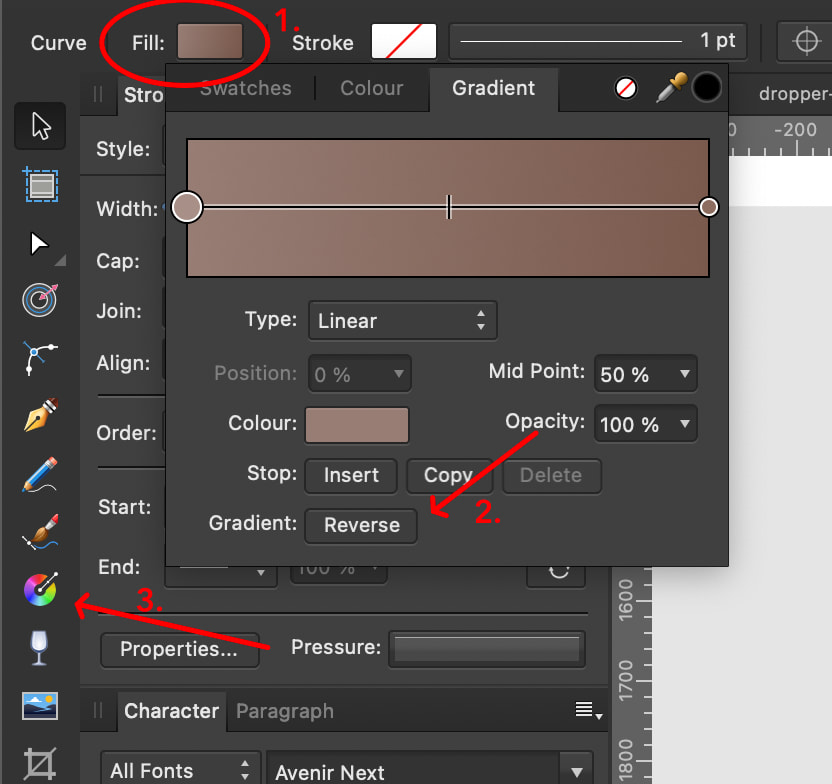
To do that, select the shape:
- click Fill.
- You can either use the reverse button in the gradient fill panel, or
- You can use the Fill Tool (G).
Next, we are going to add a shape to mimics the thickness of the glass.
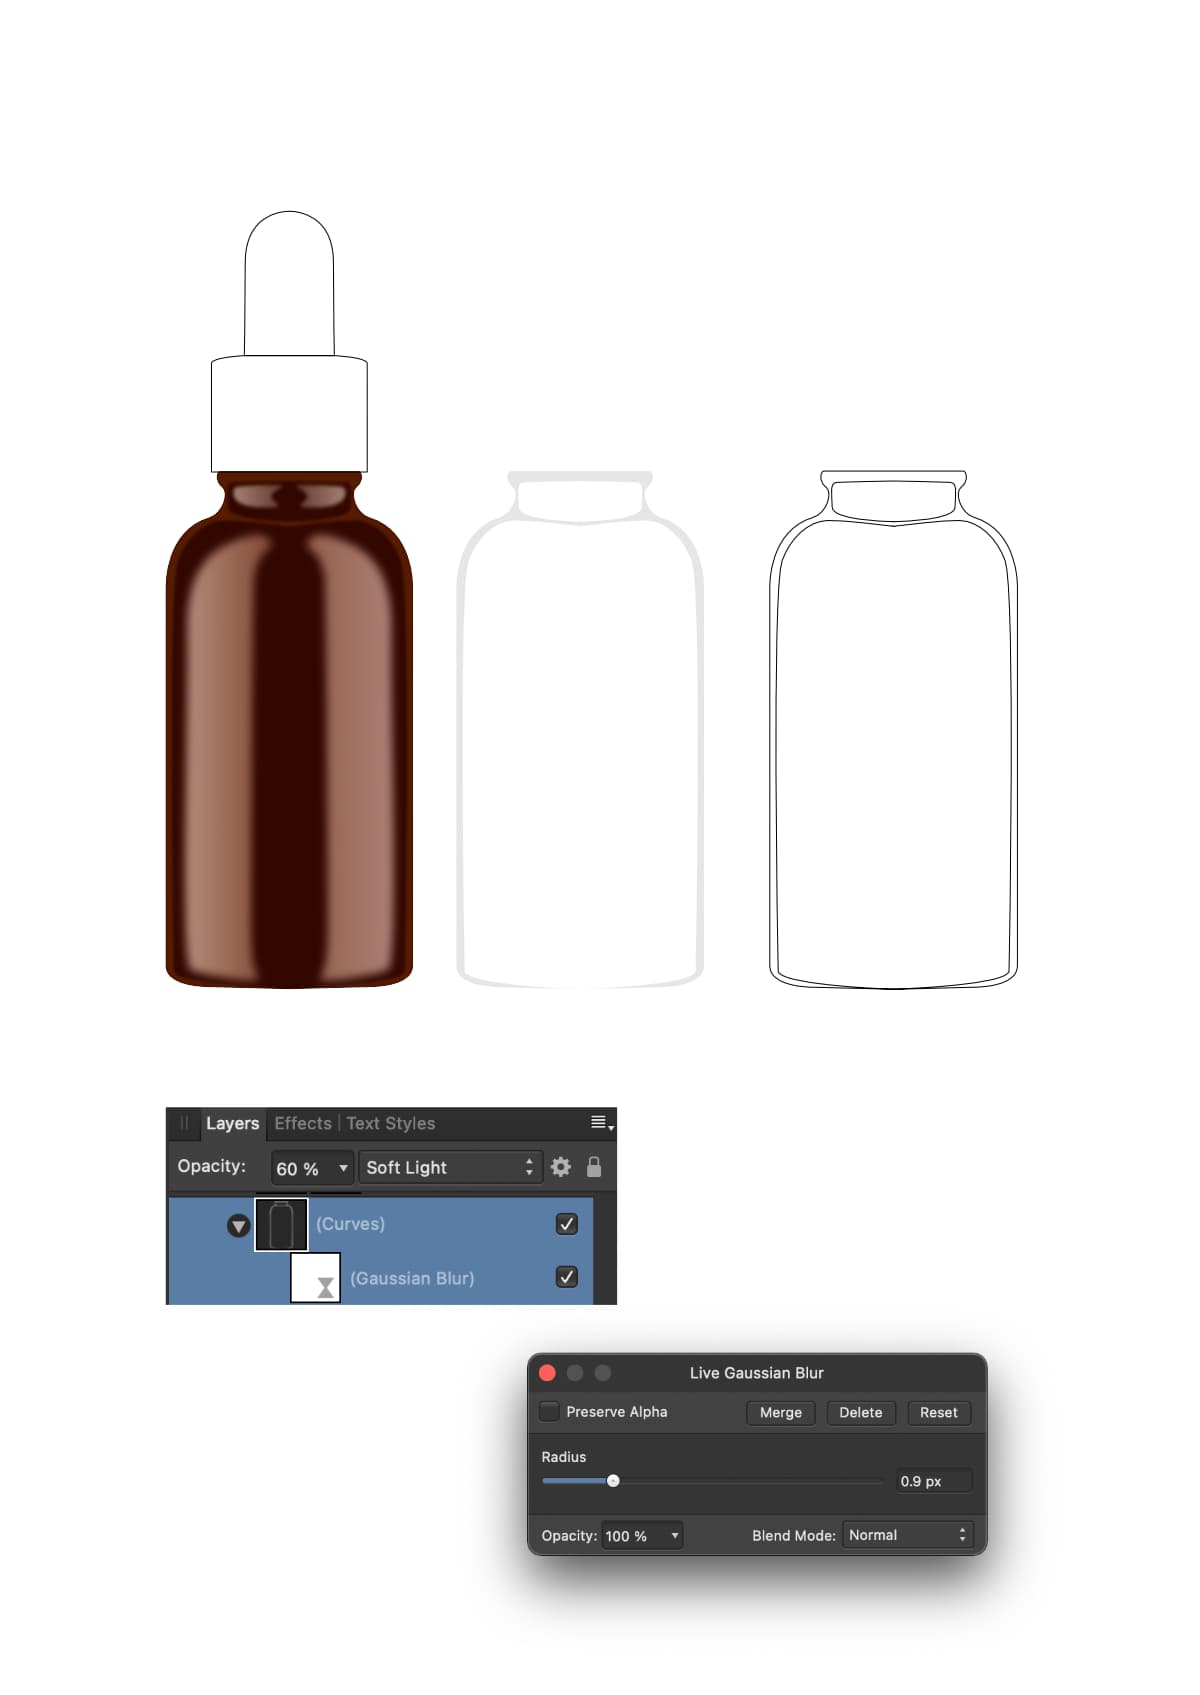
We could stop here, and call it a day. It already looks like a glass bottle or maybe a plastic bottle. But we will add another shape to add more light reflections, which will make the glass look even more glassy.
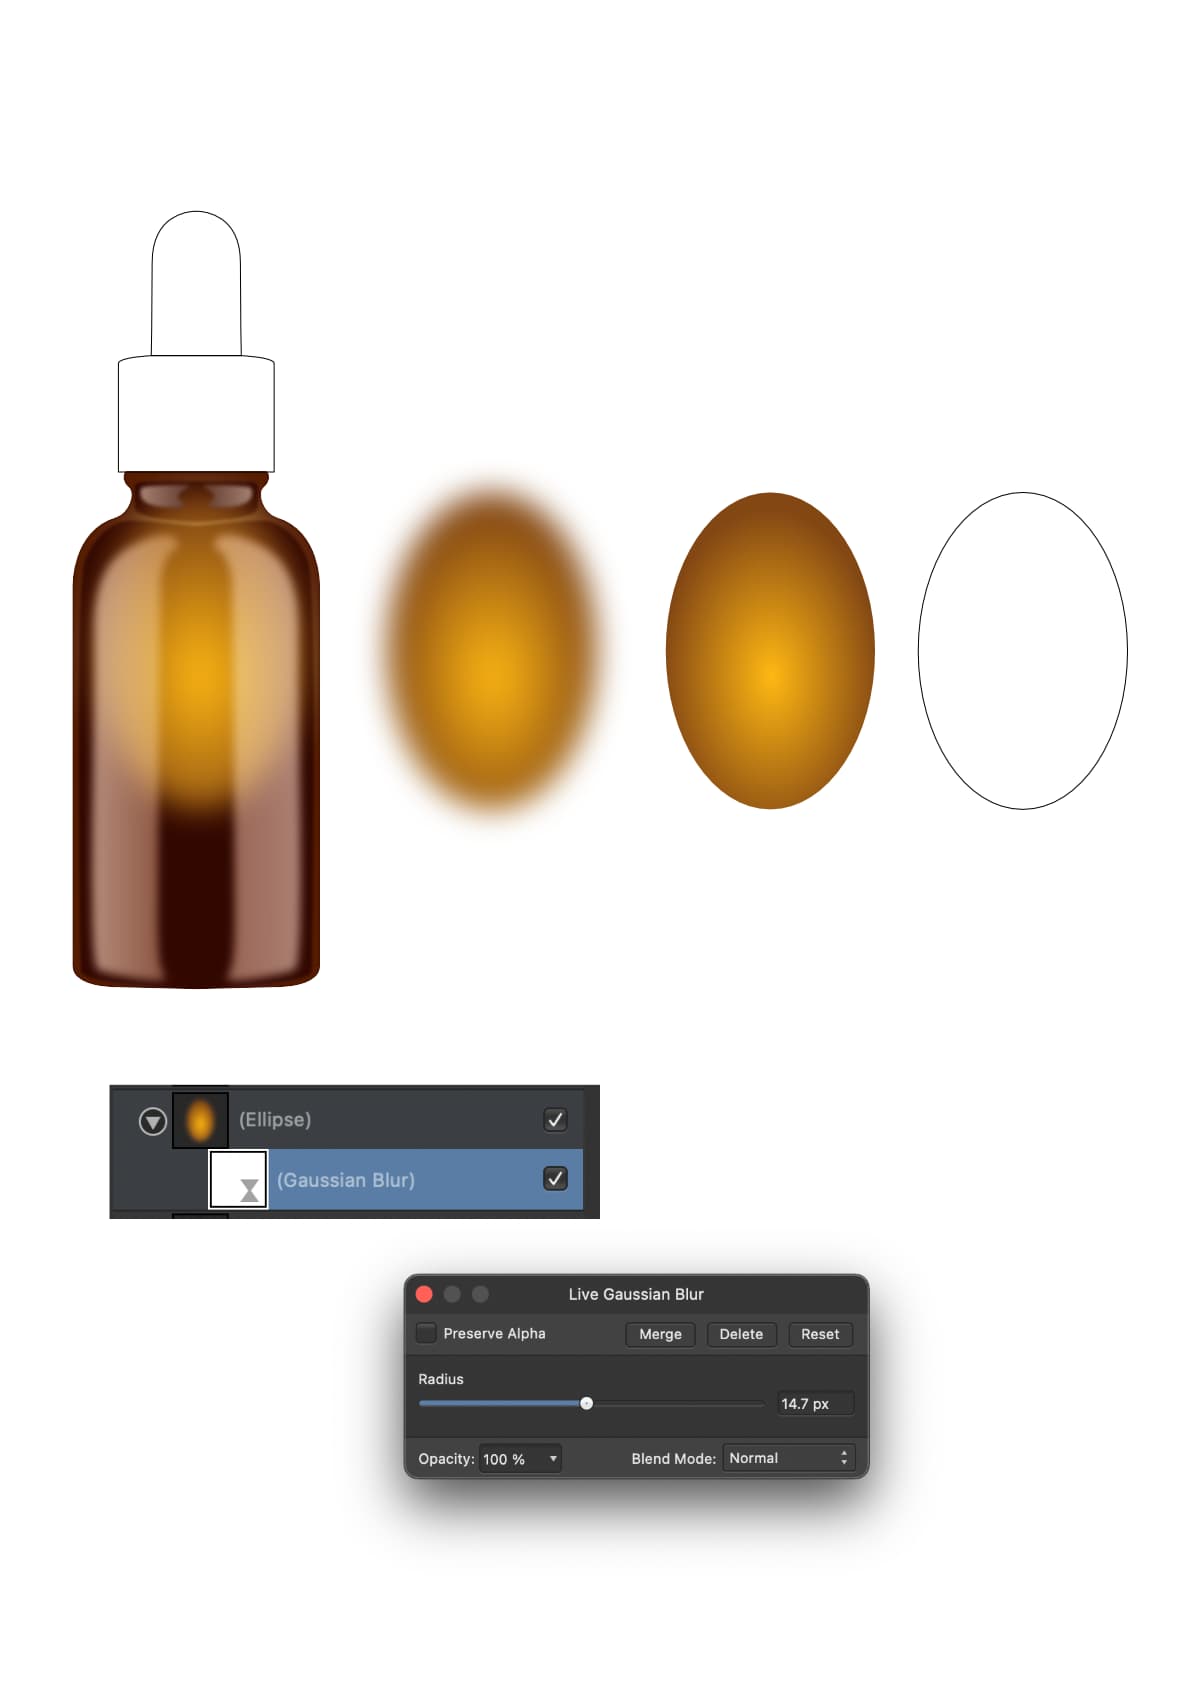
Step 3: Golden cap
To make the golden cap, we will use a combination of gradients and the same techiques as before.
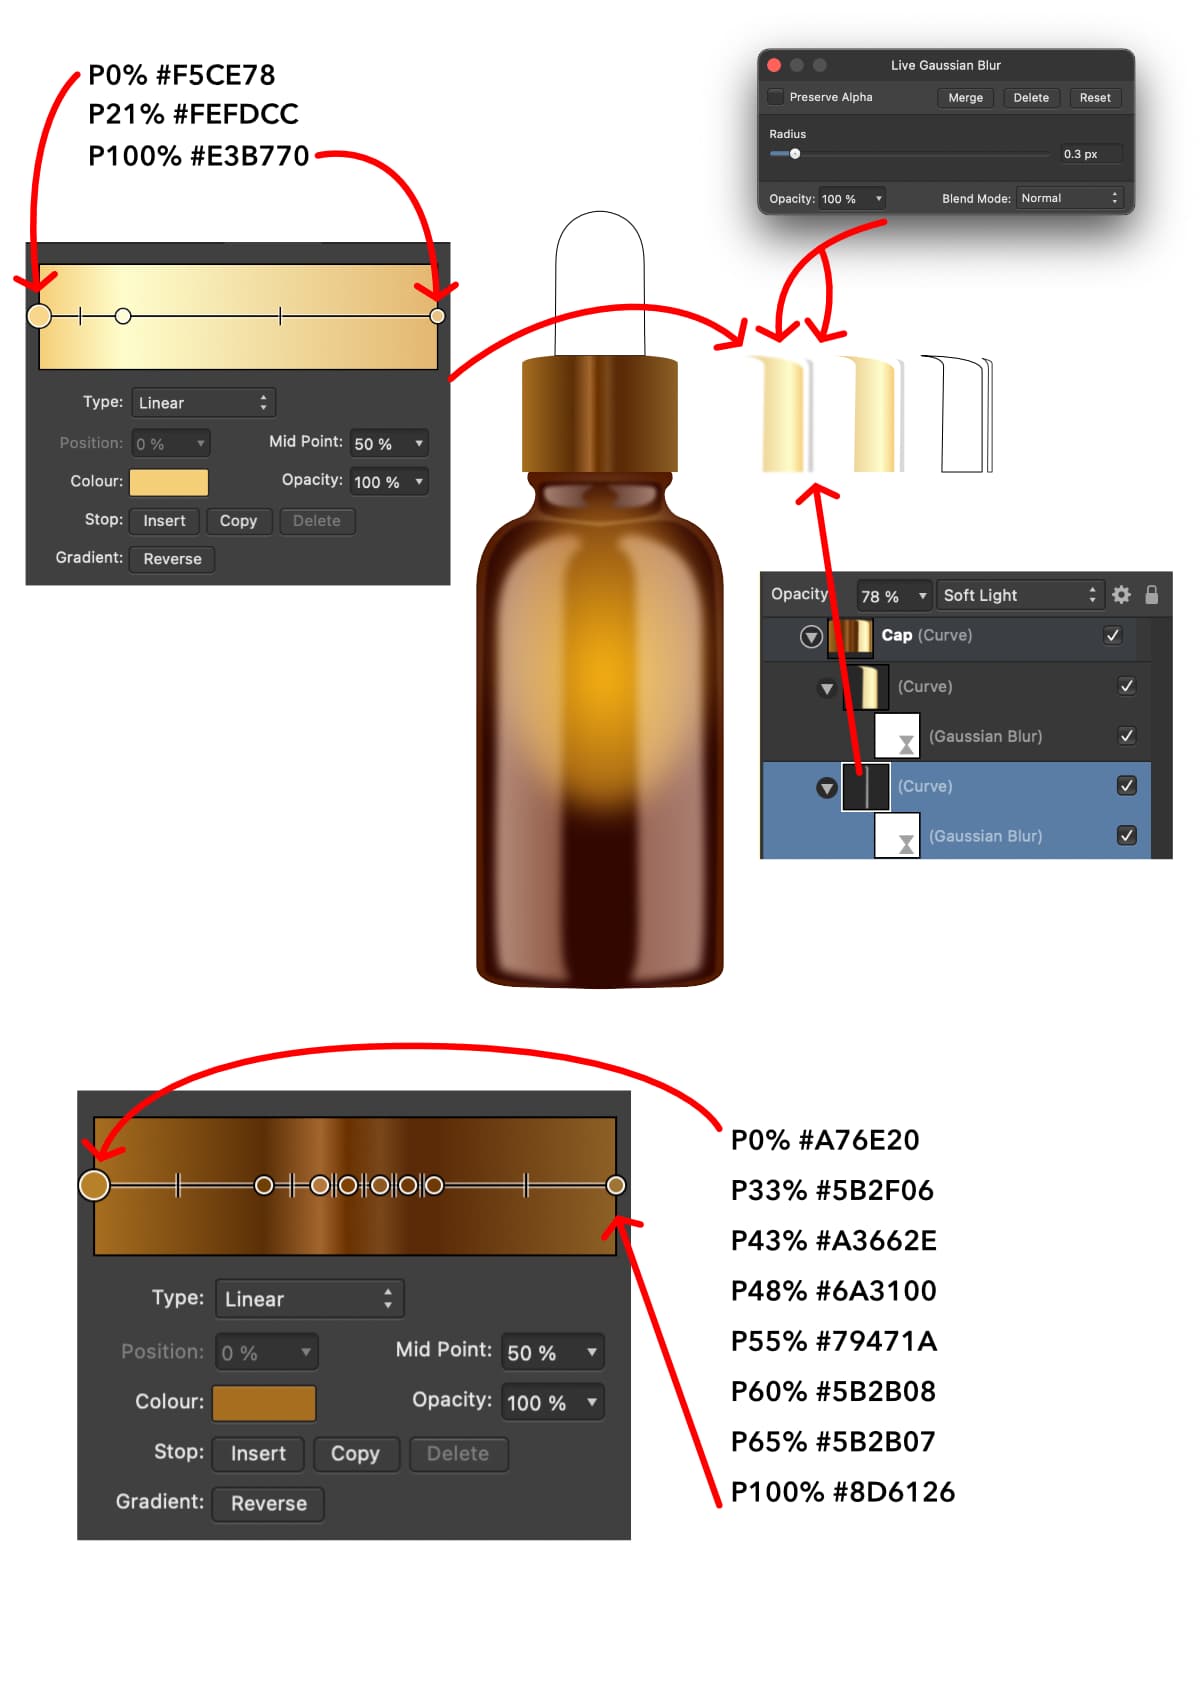
That’s a lot of information in one image, but everything is in there. And you can copy and reflect the shapes to the other side and revers the gradient.
Step 4: Dropper
This is the last step. Dropper is simple, we use the same technique again.
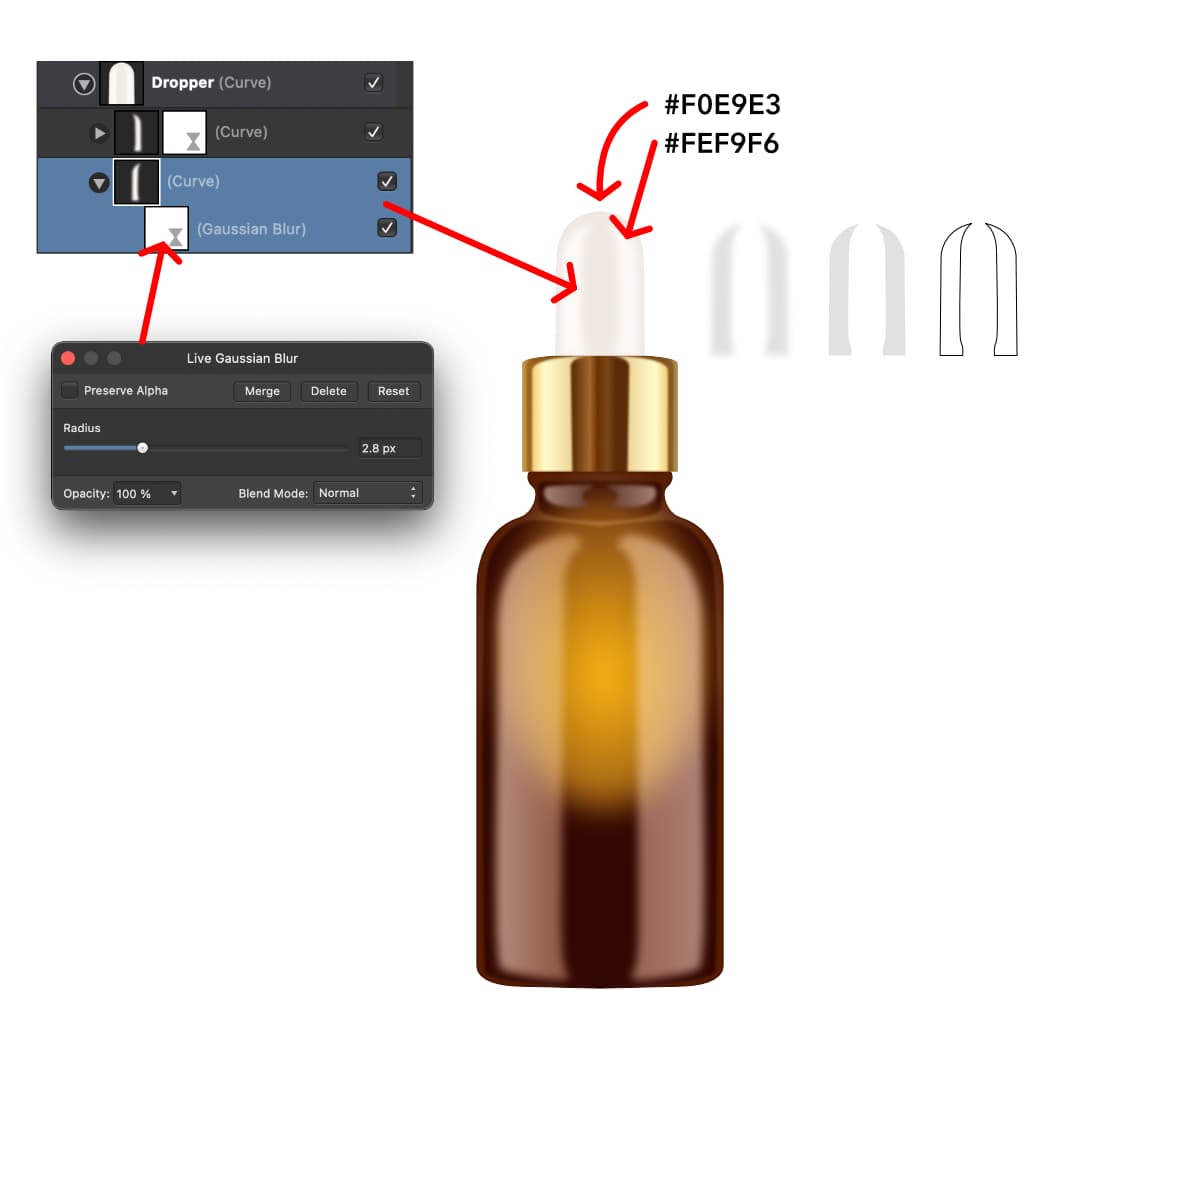
And we are done.
Here is how it looks.
You can modify the bottle a little bit, and make even more mockups like these.
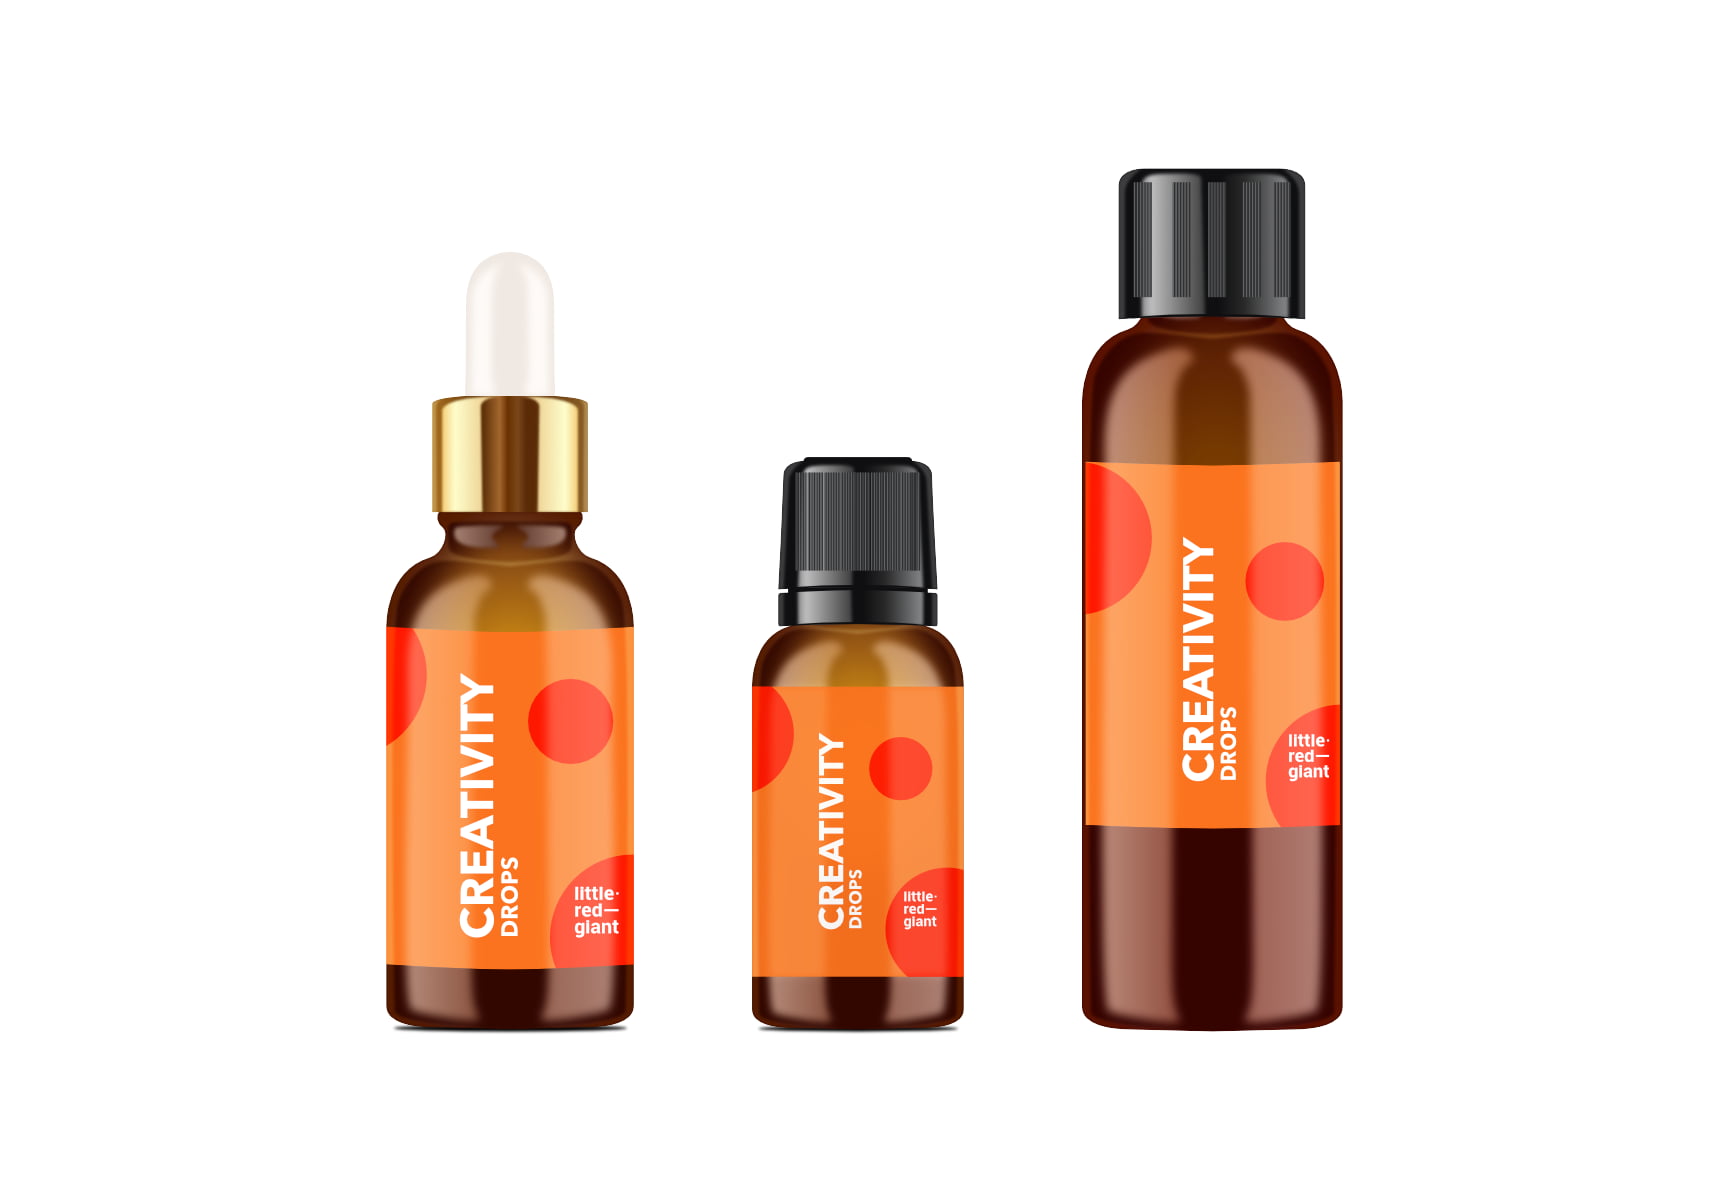
You can download these for free from here Download
Have fun!
