When talking about smartobject based mockups in Photoshop, I should mention that I was not able to get complex mockups that use distortions and warps to work properly on Affinity Photo. But for some cases, it works perfectly. Here I will demonstrate using mockups created for Photoshop and also creating mockups in Affinity Photo itself.
First, let’s go through how to use a mockup made with PSD SmartObject
To enable proper import of photoshop files with embedded smart objects you need to enable it on Affinity Photo preferences. I’m assuming you have the latest version of Affinity Photo, or at least version 1.8 because this feature is available starting from 1.8.
Go to Preferences.
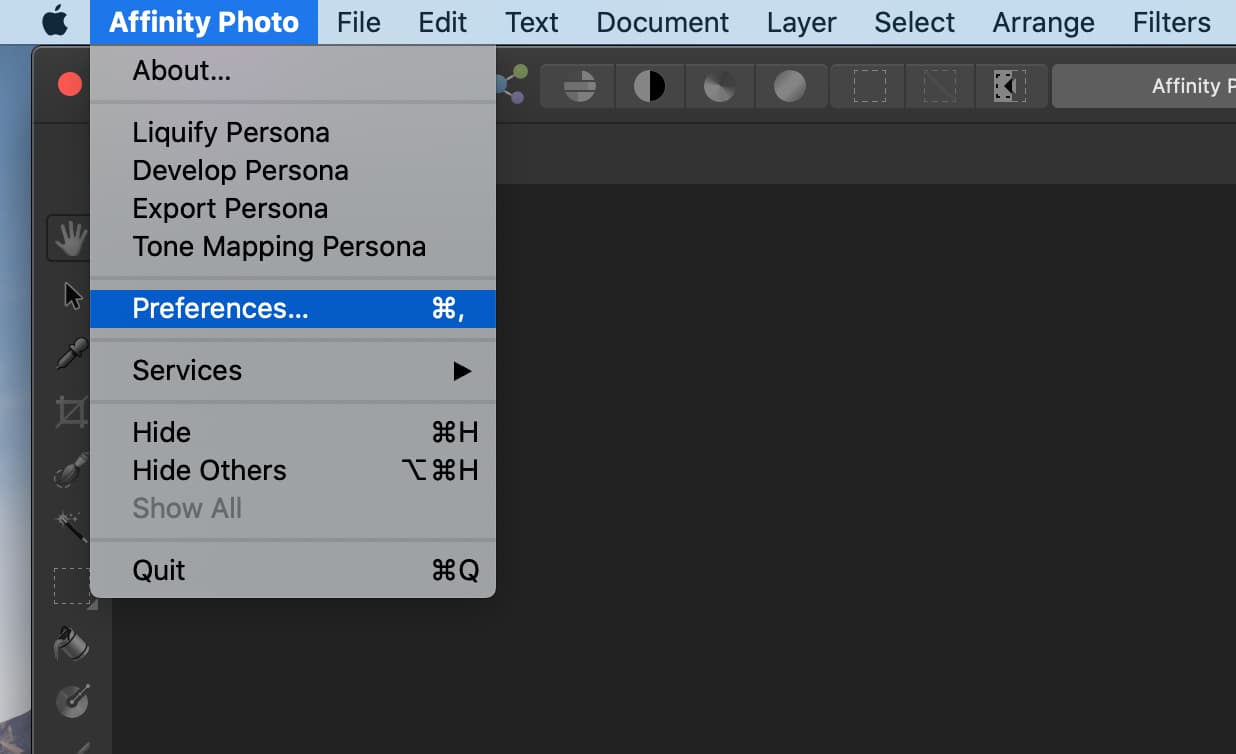
Affinity > Preferences
On windows Preferences is under the “Edit” menu.
On the Preferences dialogue box, go to “General” category and enable “Import PSD smart object where possible.”
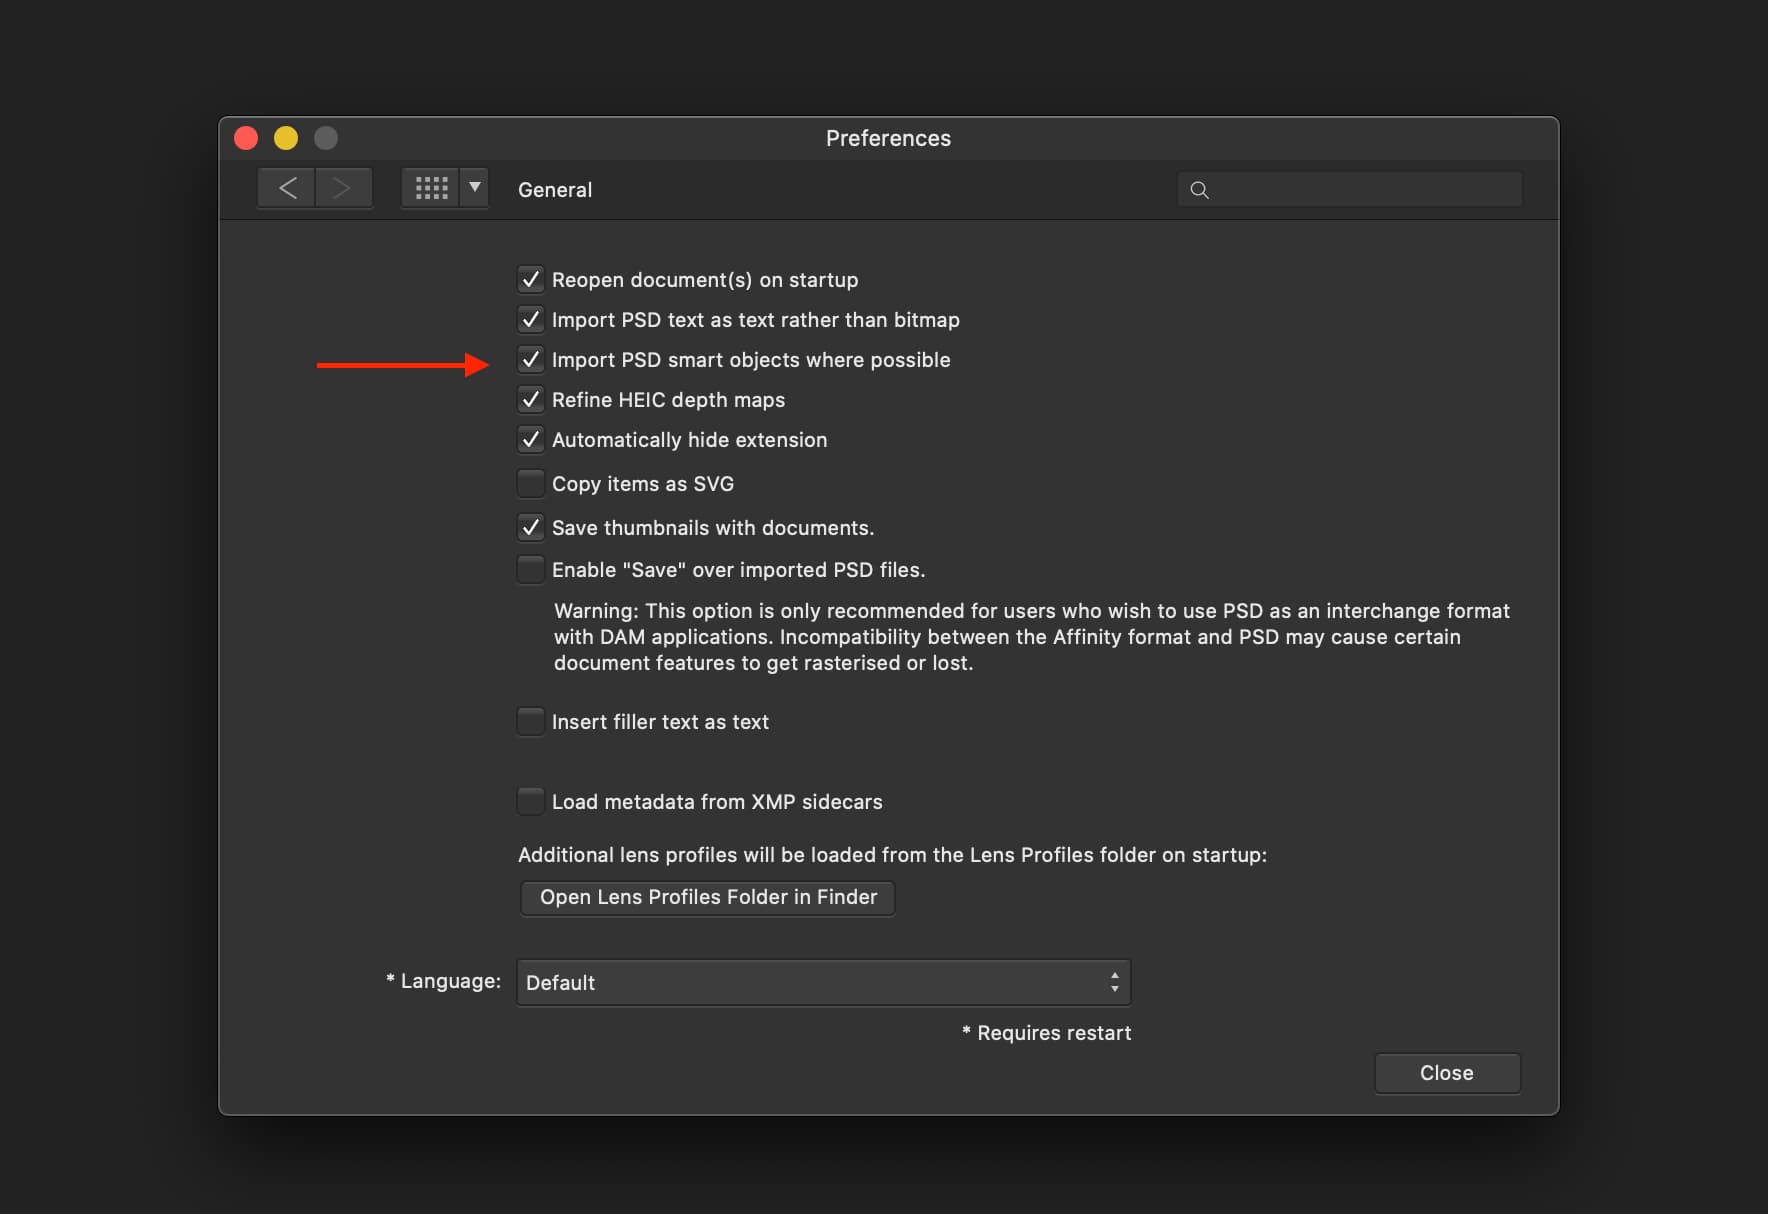
Preferences > General
Here is a video showing how to use PSD files with smart objects or Mockup files.
It is very straight forward, you just open the PSD file in Affinity Designer. Edit the embeded document by replacing its content with the content you want to put in. As mentioned before, it might not work on some of the more complex mockups. You may need to do a few adjustments to get it working or use simpler mockups like the one I have used in the example video.
Creating SmartObjects in Affinity Photo.
Affinity photo lets you add embeded documents to your document, which works similar to PSD smart object. You can create your own reusable mockup files using this method.
I am going to create a mockup for invoices using the below image from unsplash.com
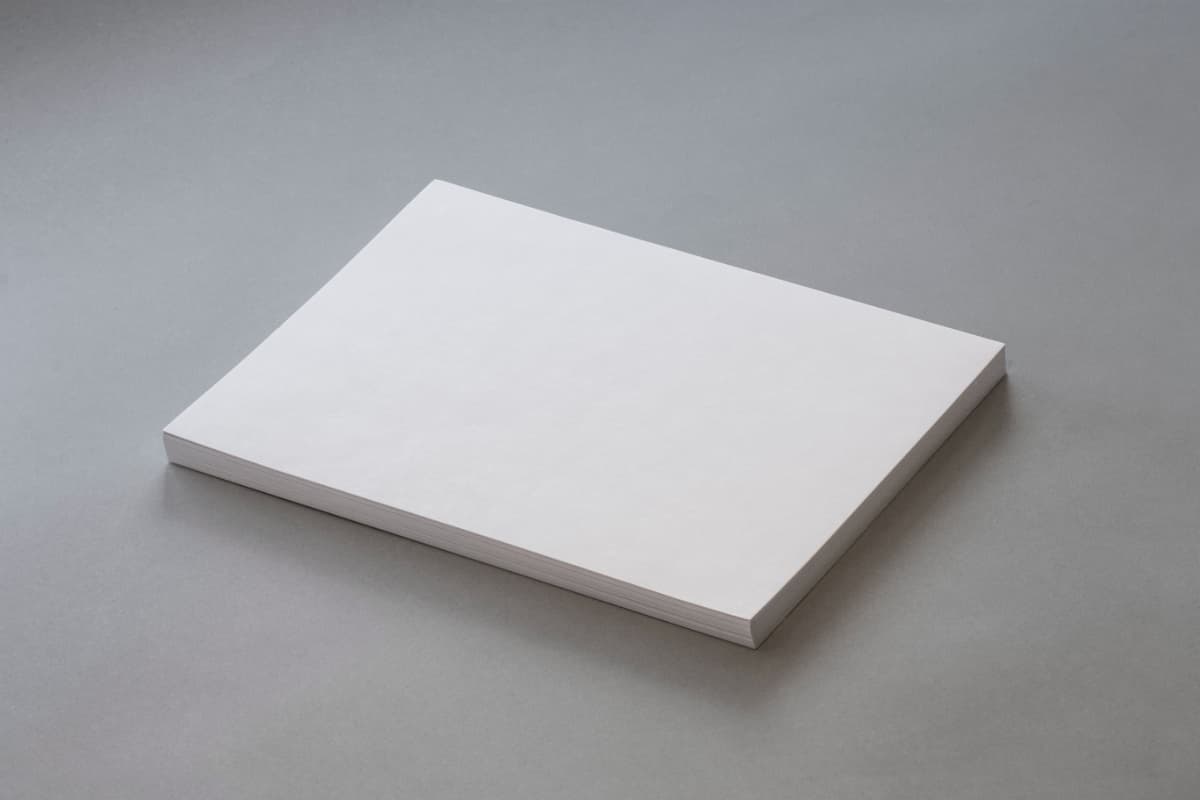
A4 block
Step 1: Open the image in Affinity Photo.
Drag and drop, or from the file menu “File > Open” open the image.
Step 2: Place the artwork document inside the current document.
Go to “File > Place…”
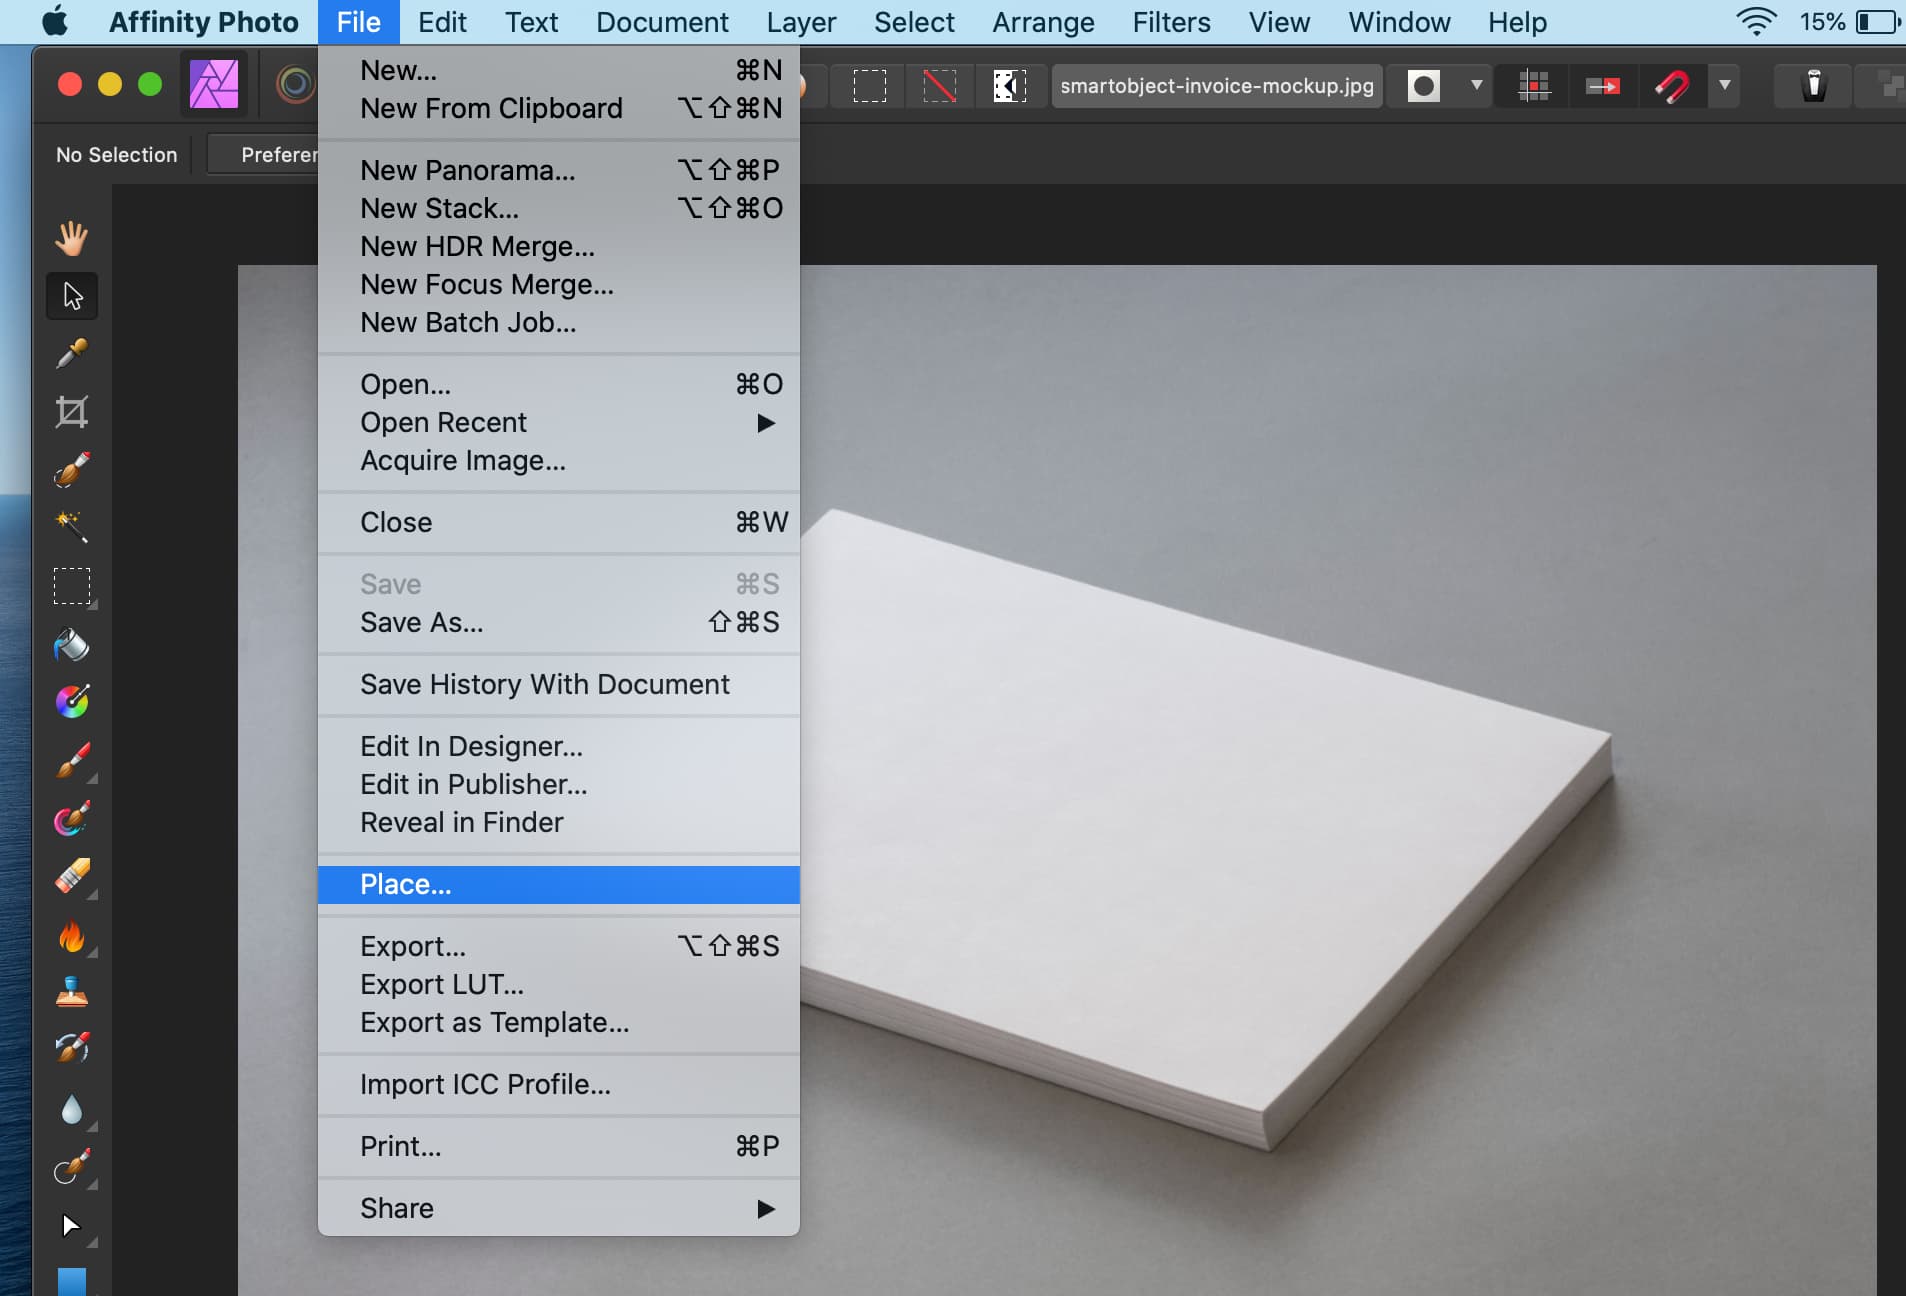
File > Place...
Locate and open the file you want. I have created an invoice template in Affinity Designer, so I am going to use it here.
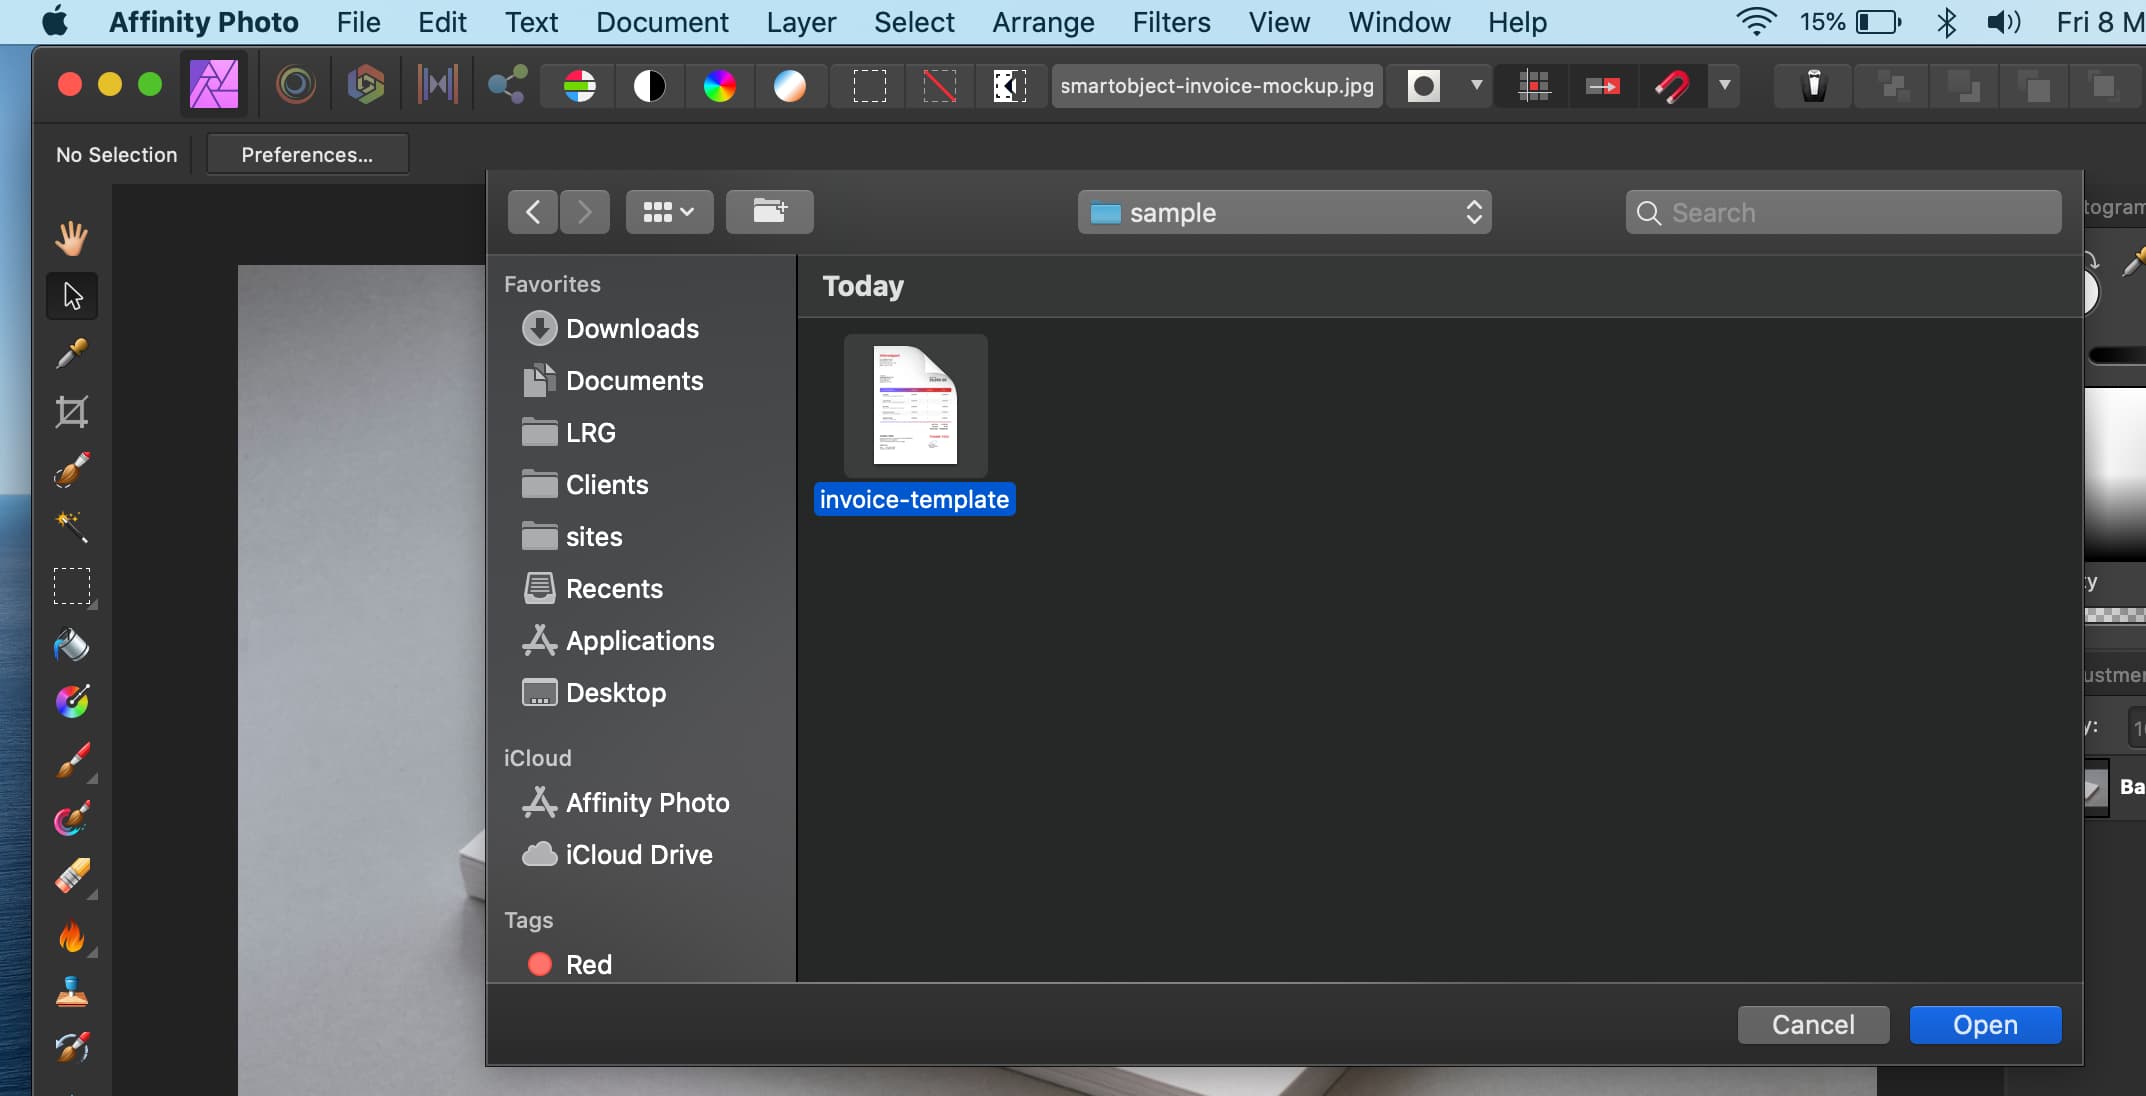
Locating the file
Step 2: Resize and adjust
Resize the embeded document as needed.
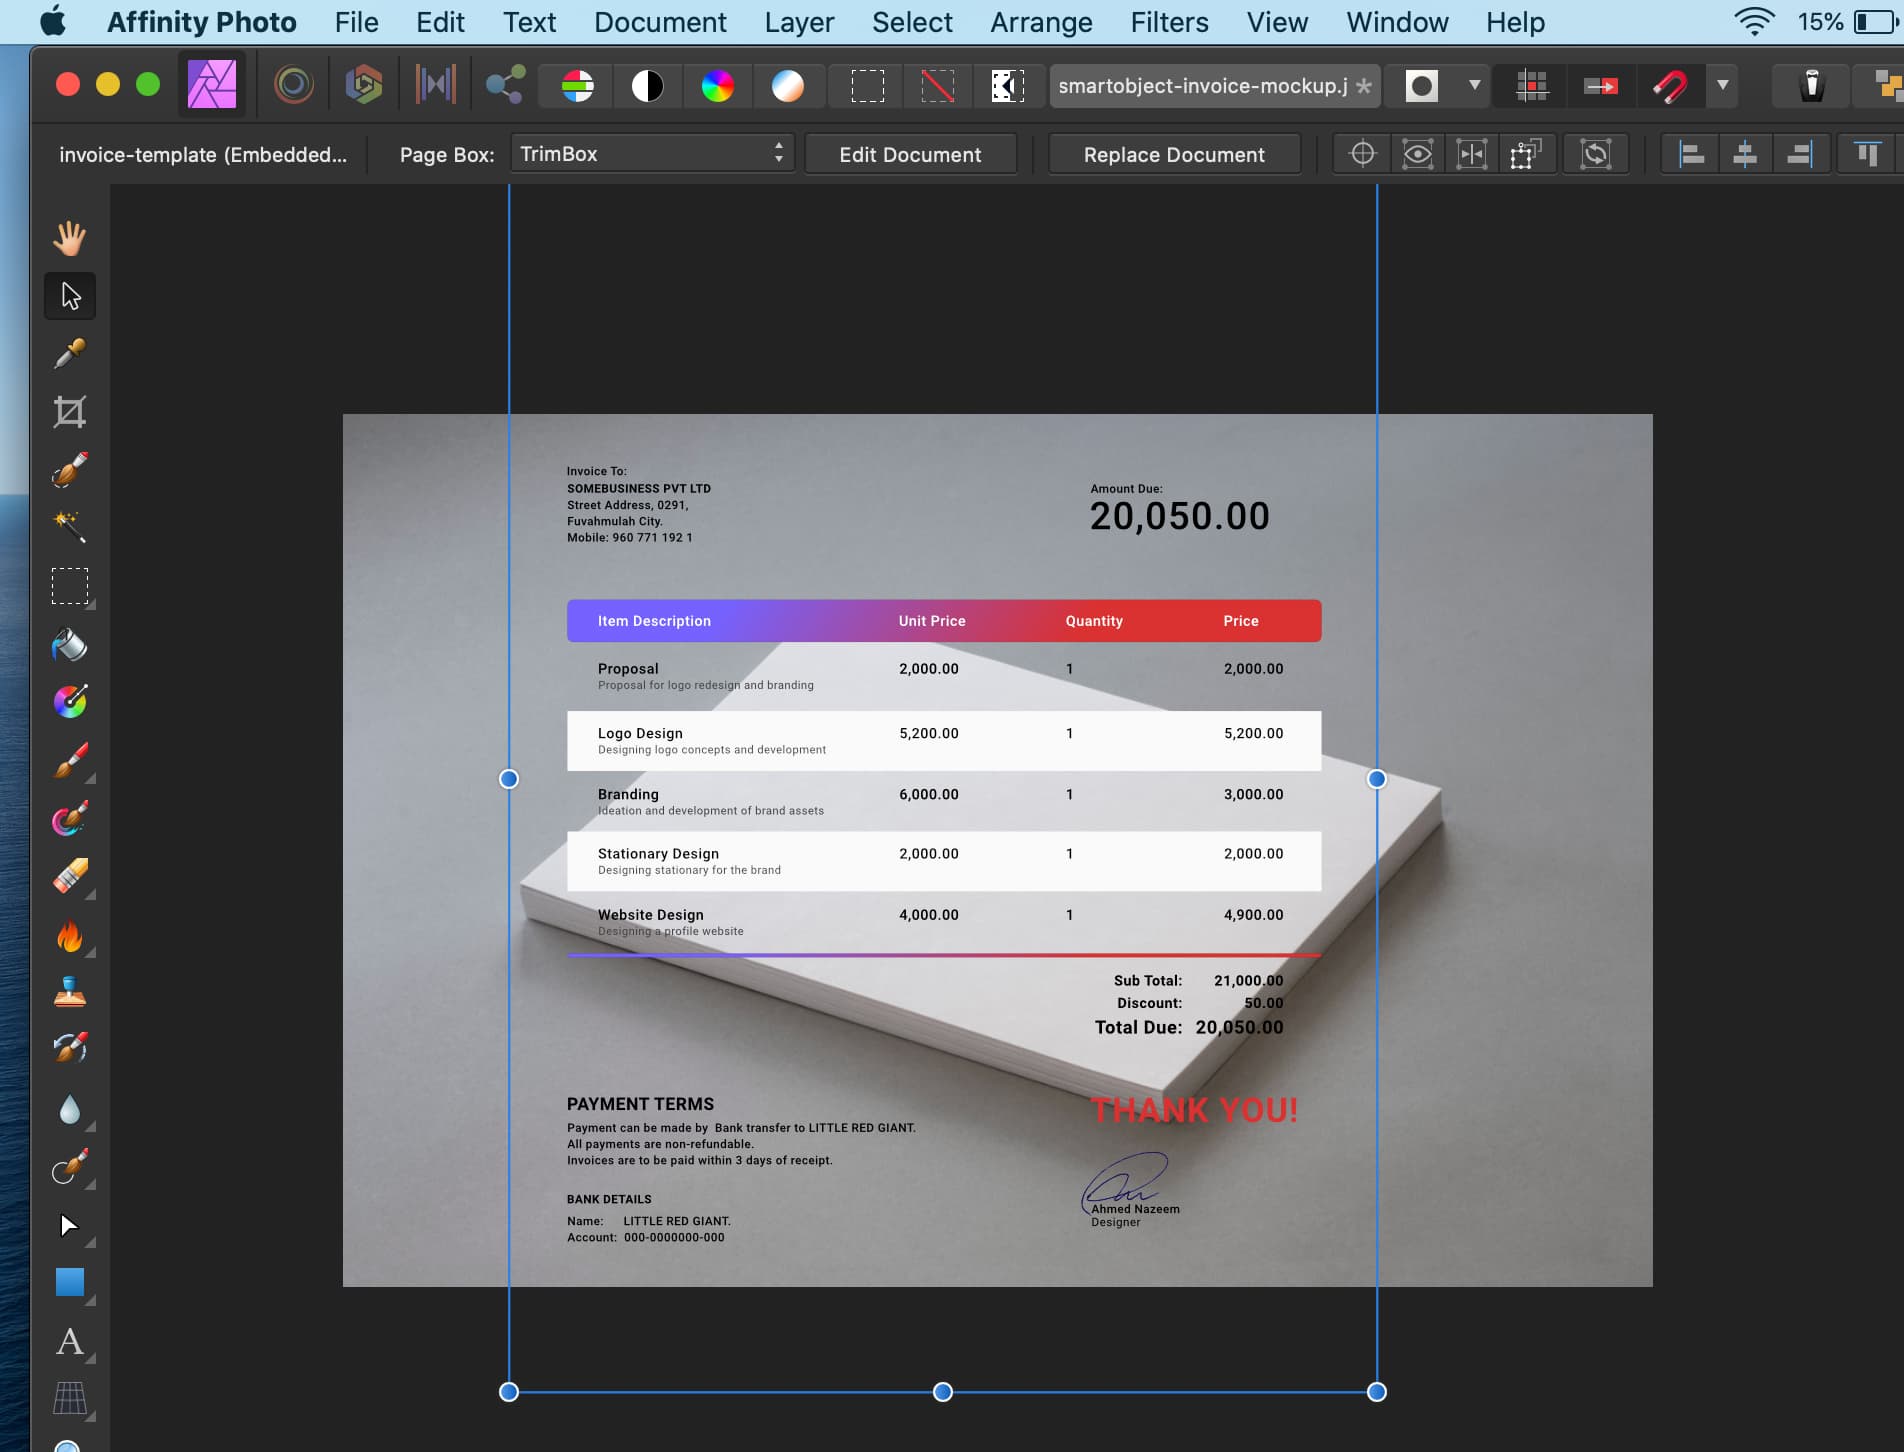
Resizing...
Now, for different use cases, you would need to do different things and add different filters. Keep in mind to work non destructively so that it can be reused.
For this case, I am using a Perspective filter. To add the filter “Layer > New Live Filter Layer > Distort > Perspective”.
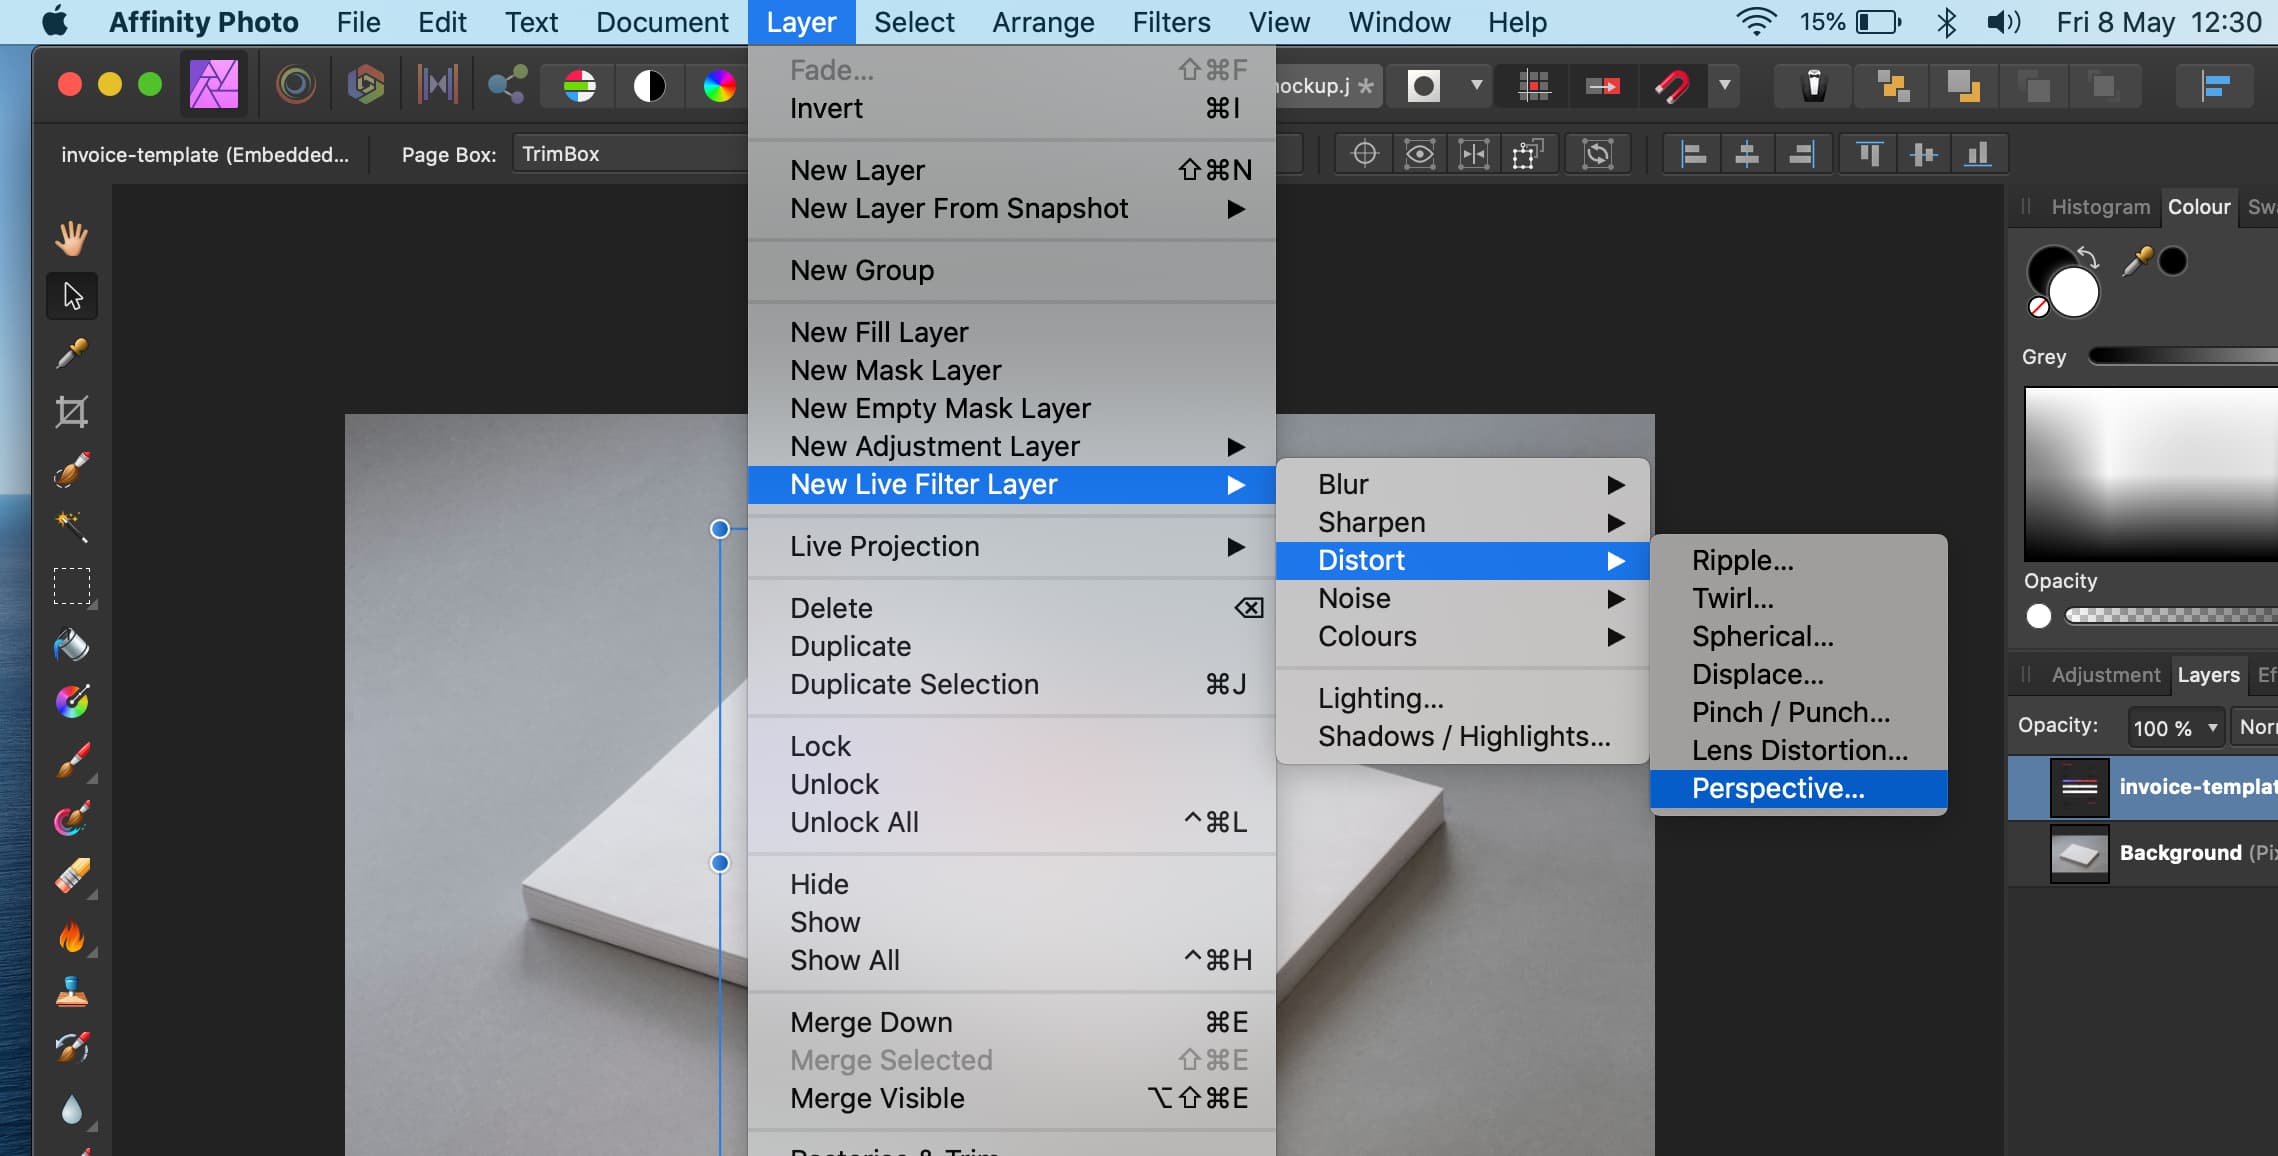
Adding Perspective distort
This is a simple perspective distort. I just hadto grab each corner of the embedded document and match it up with the picture.
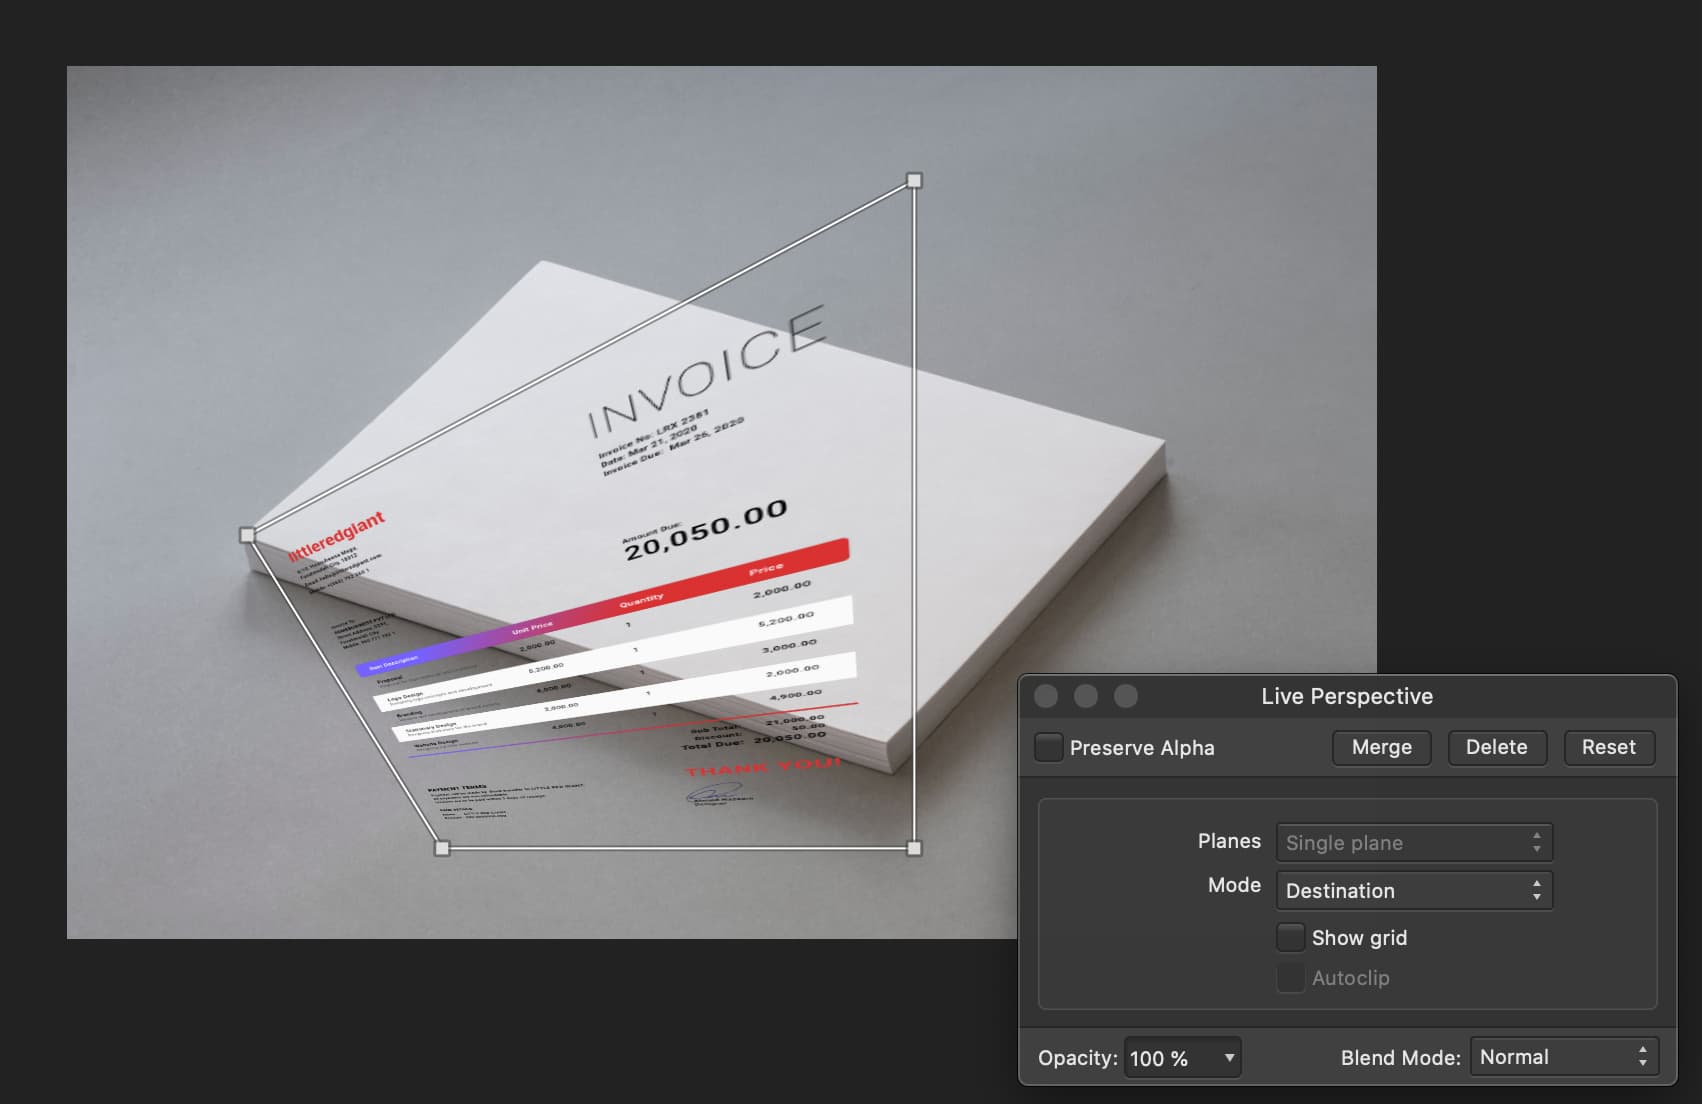
Moving the perspective handles the way I want
After making the adjustments. I got the results that I wanted.
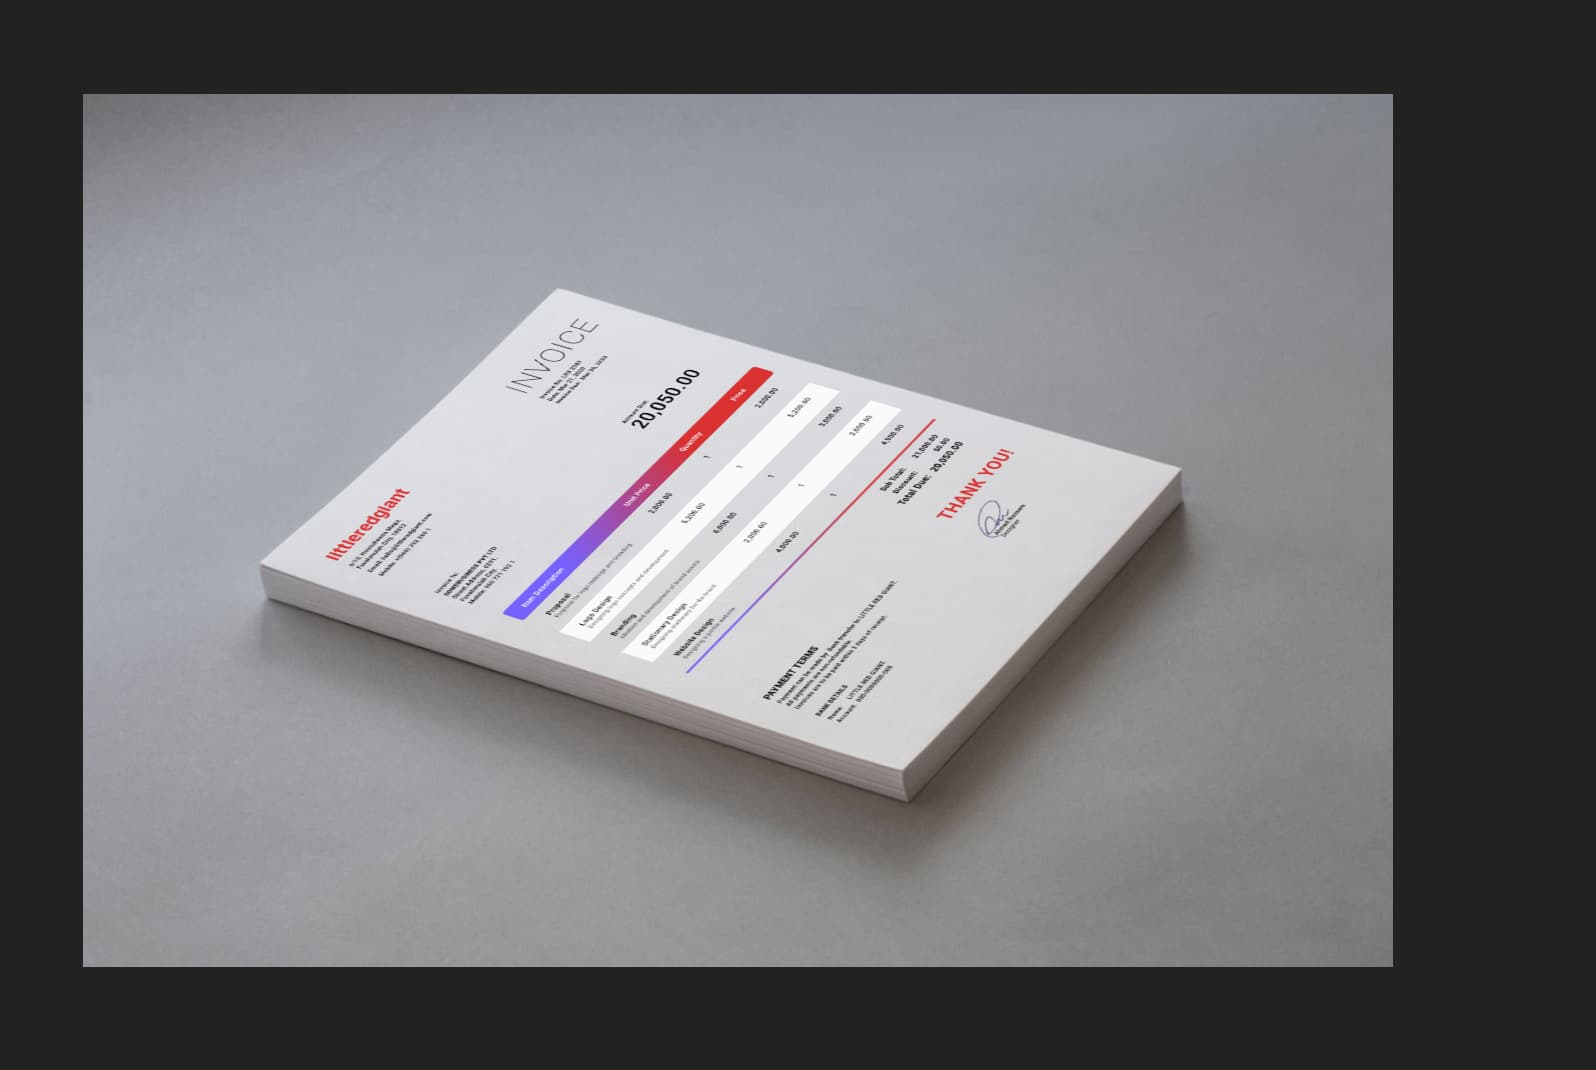
Resuable mockup.
Now, we can reuse it as much as we want. It will work the same way demonstrated in the above video.
To improve this mockup, we could add a shadow overlay layer, etc so that it looks more realistic no matter which color the background of the artwork is. But this much demonstrates the basics of creating reusable PSD smartobject style mockups in Affinity Photo.